

Creating a group
-
Click the + next to Groups in the left navigation, or open the Groups page and click Add New Group.
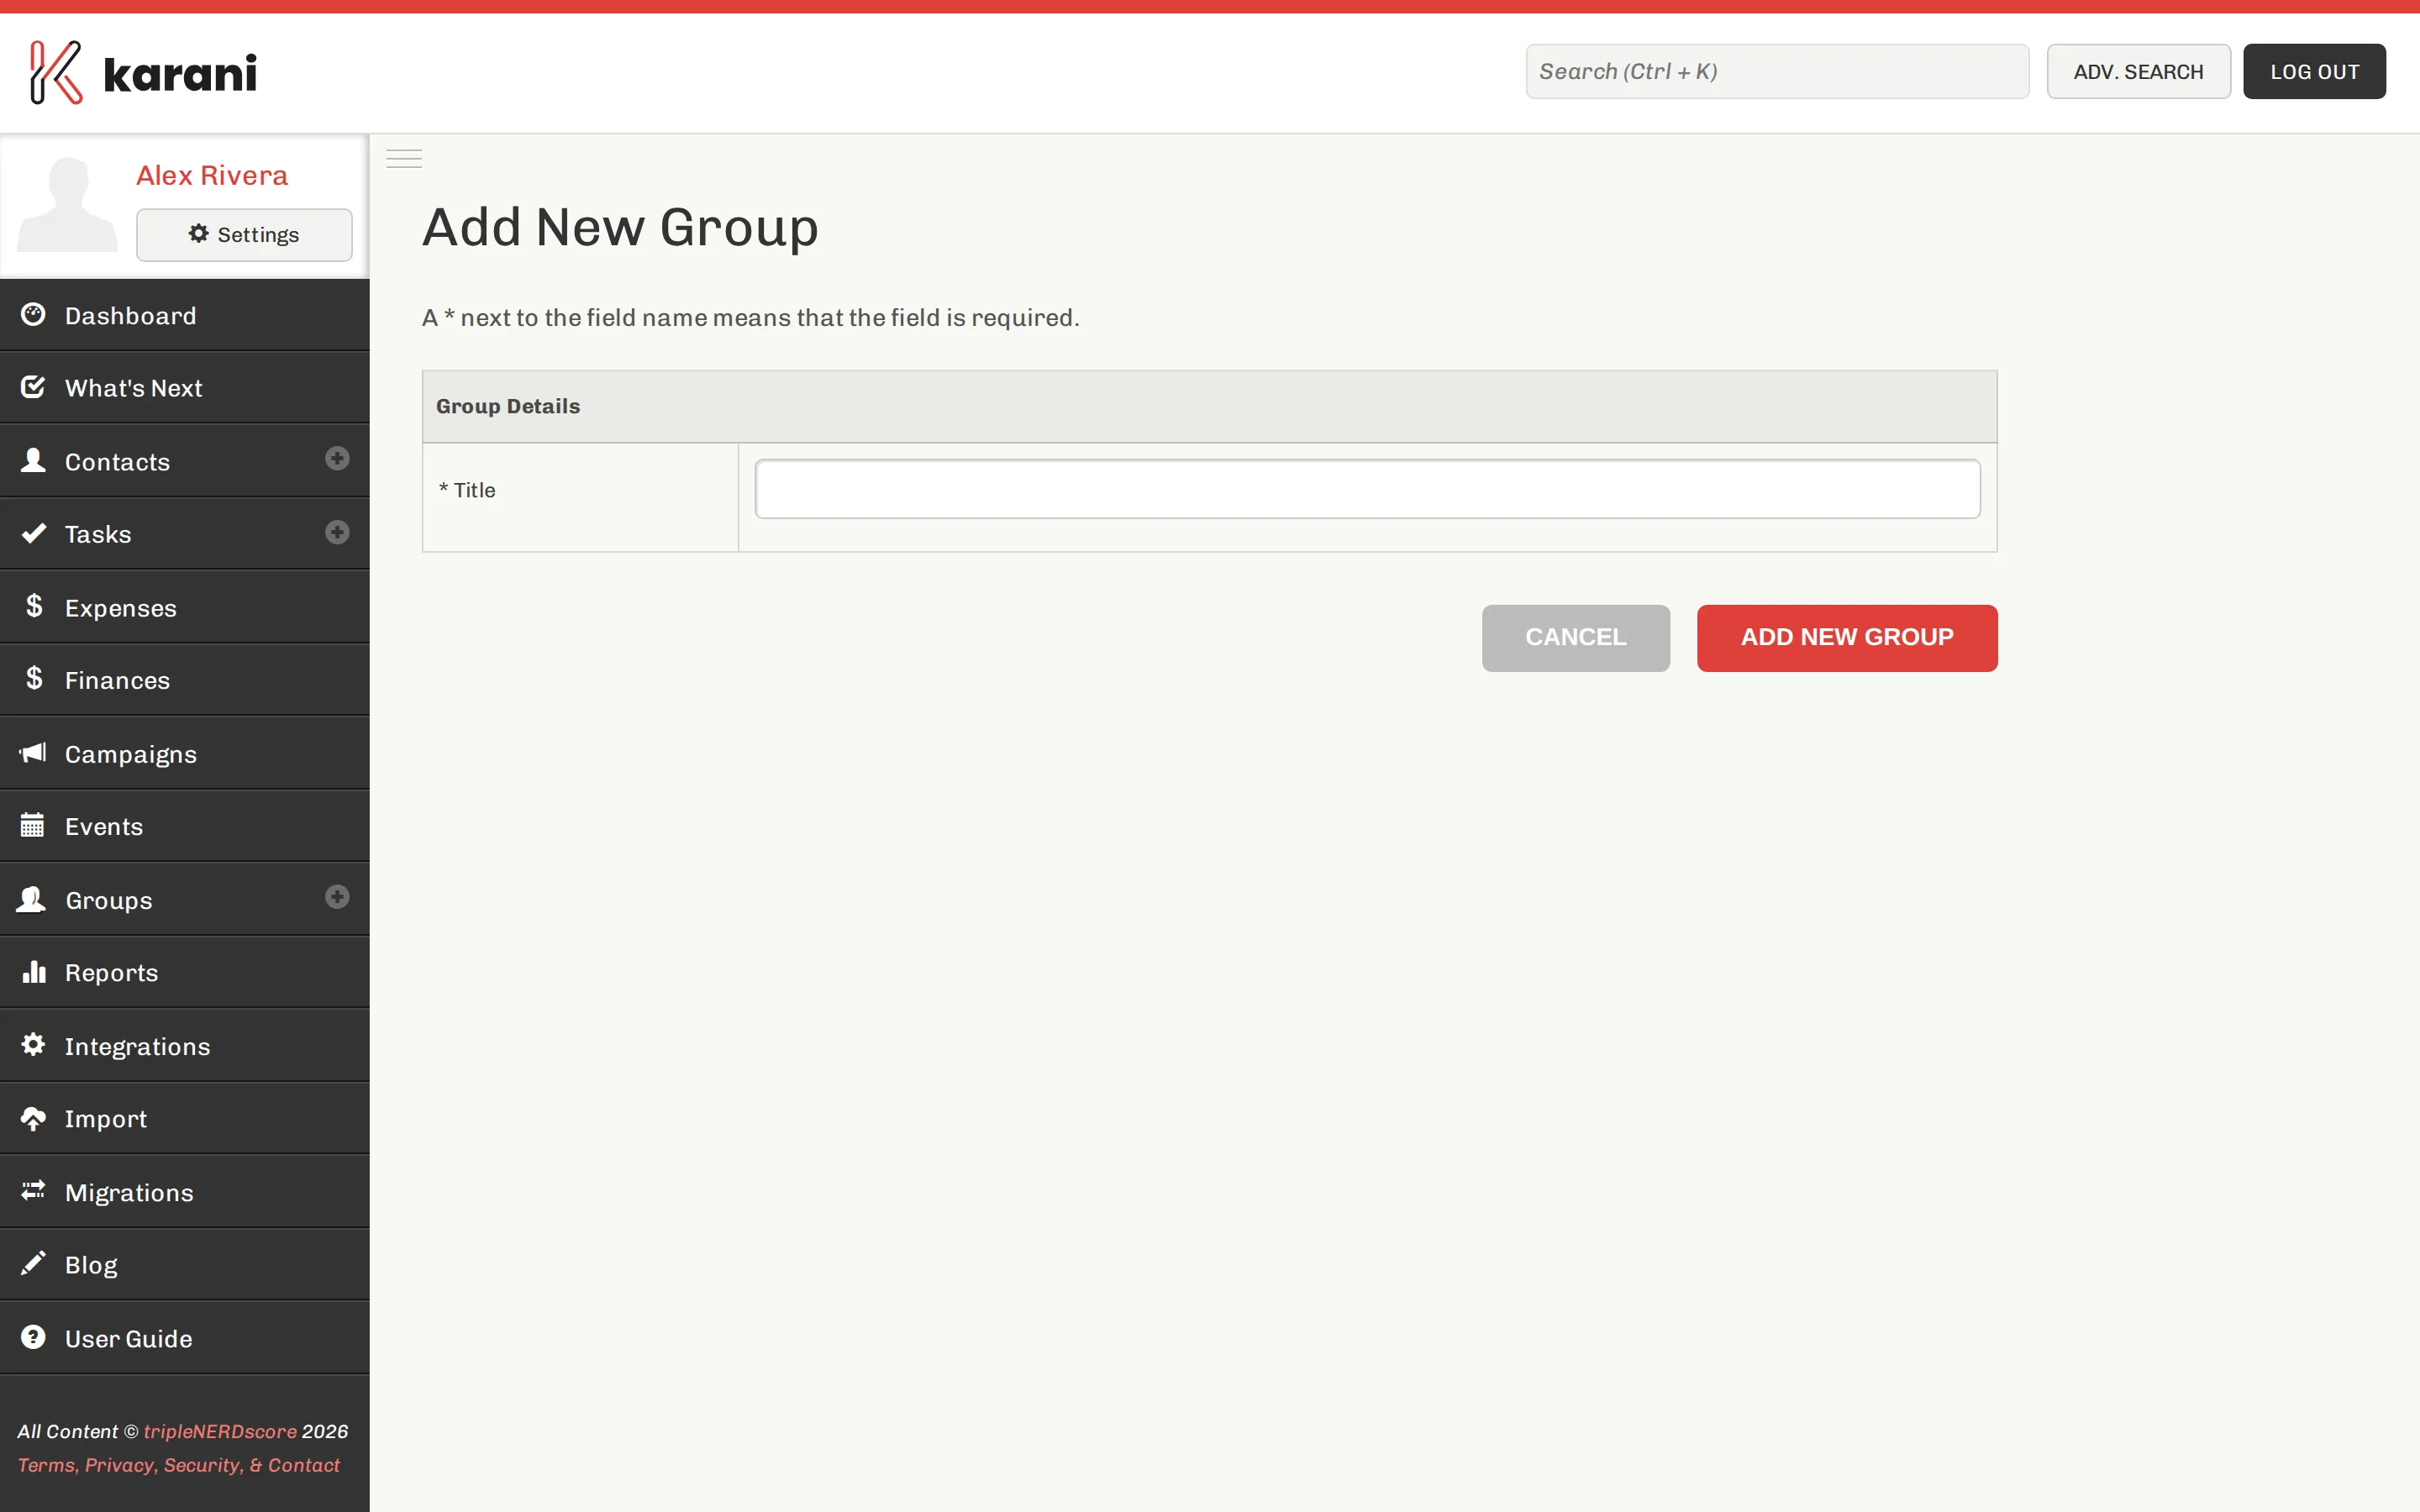
A group is just a name to begin with. -
Type a name. “Email newsletter”, “Paper newsletter”, “Alumni”, “Major donors” — describe who’s in it, not what you’ll do with it.
-
Click Add New Group.
You land on the new group’s page, which is where you add people.
Adding contacts
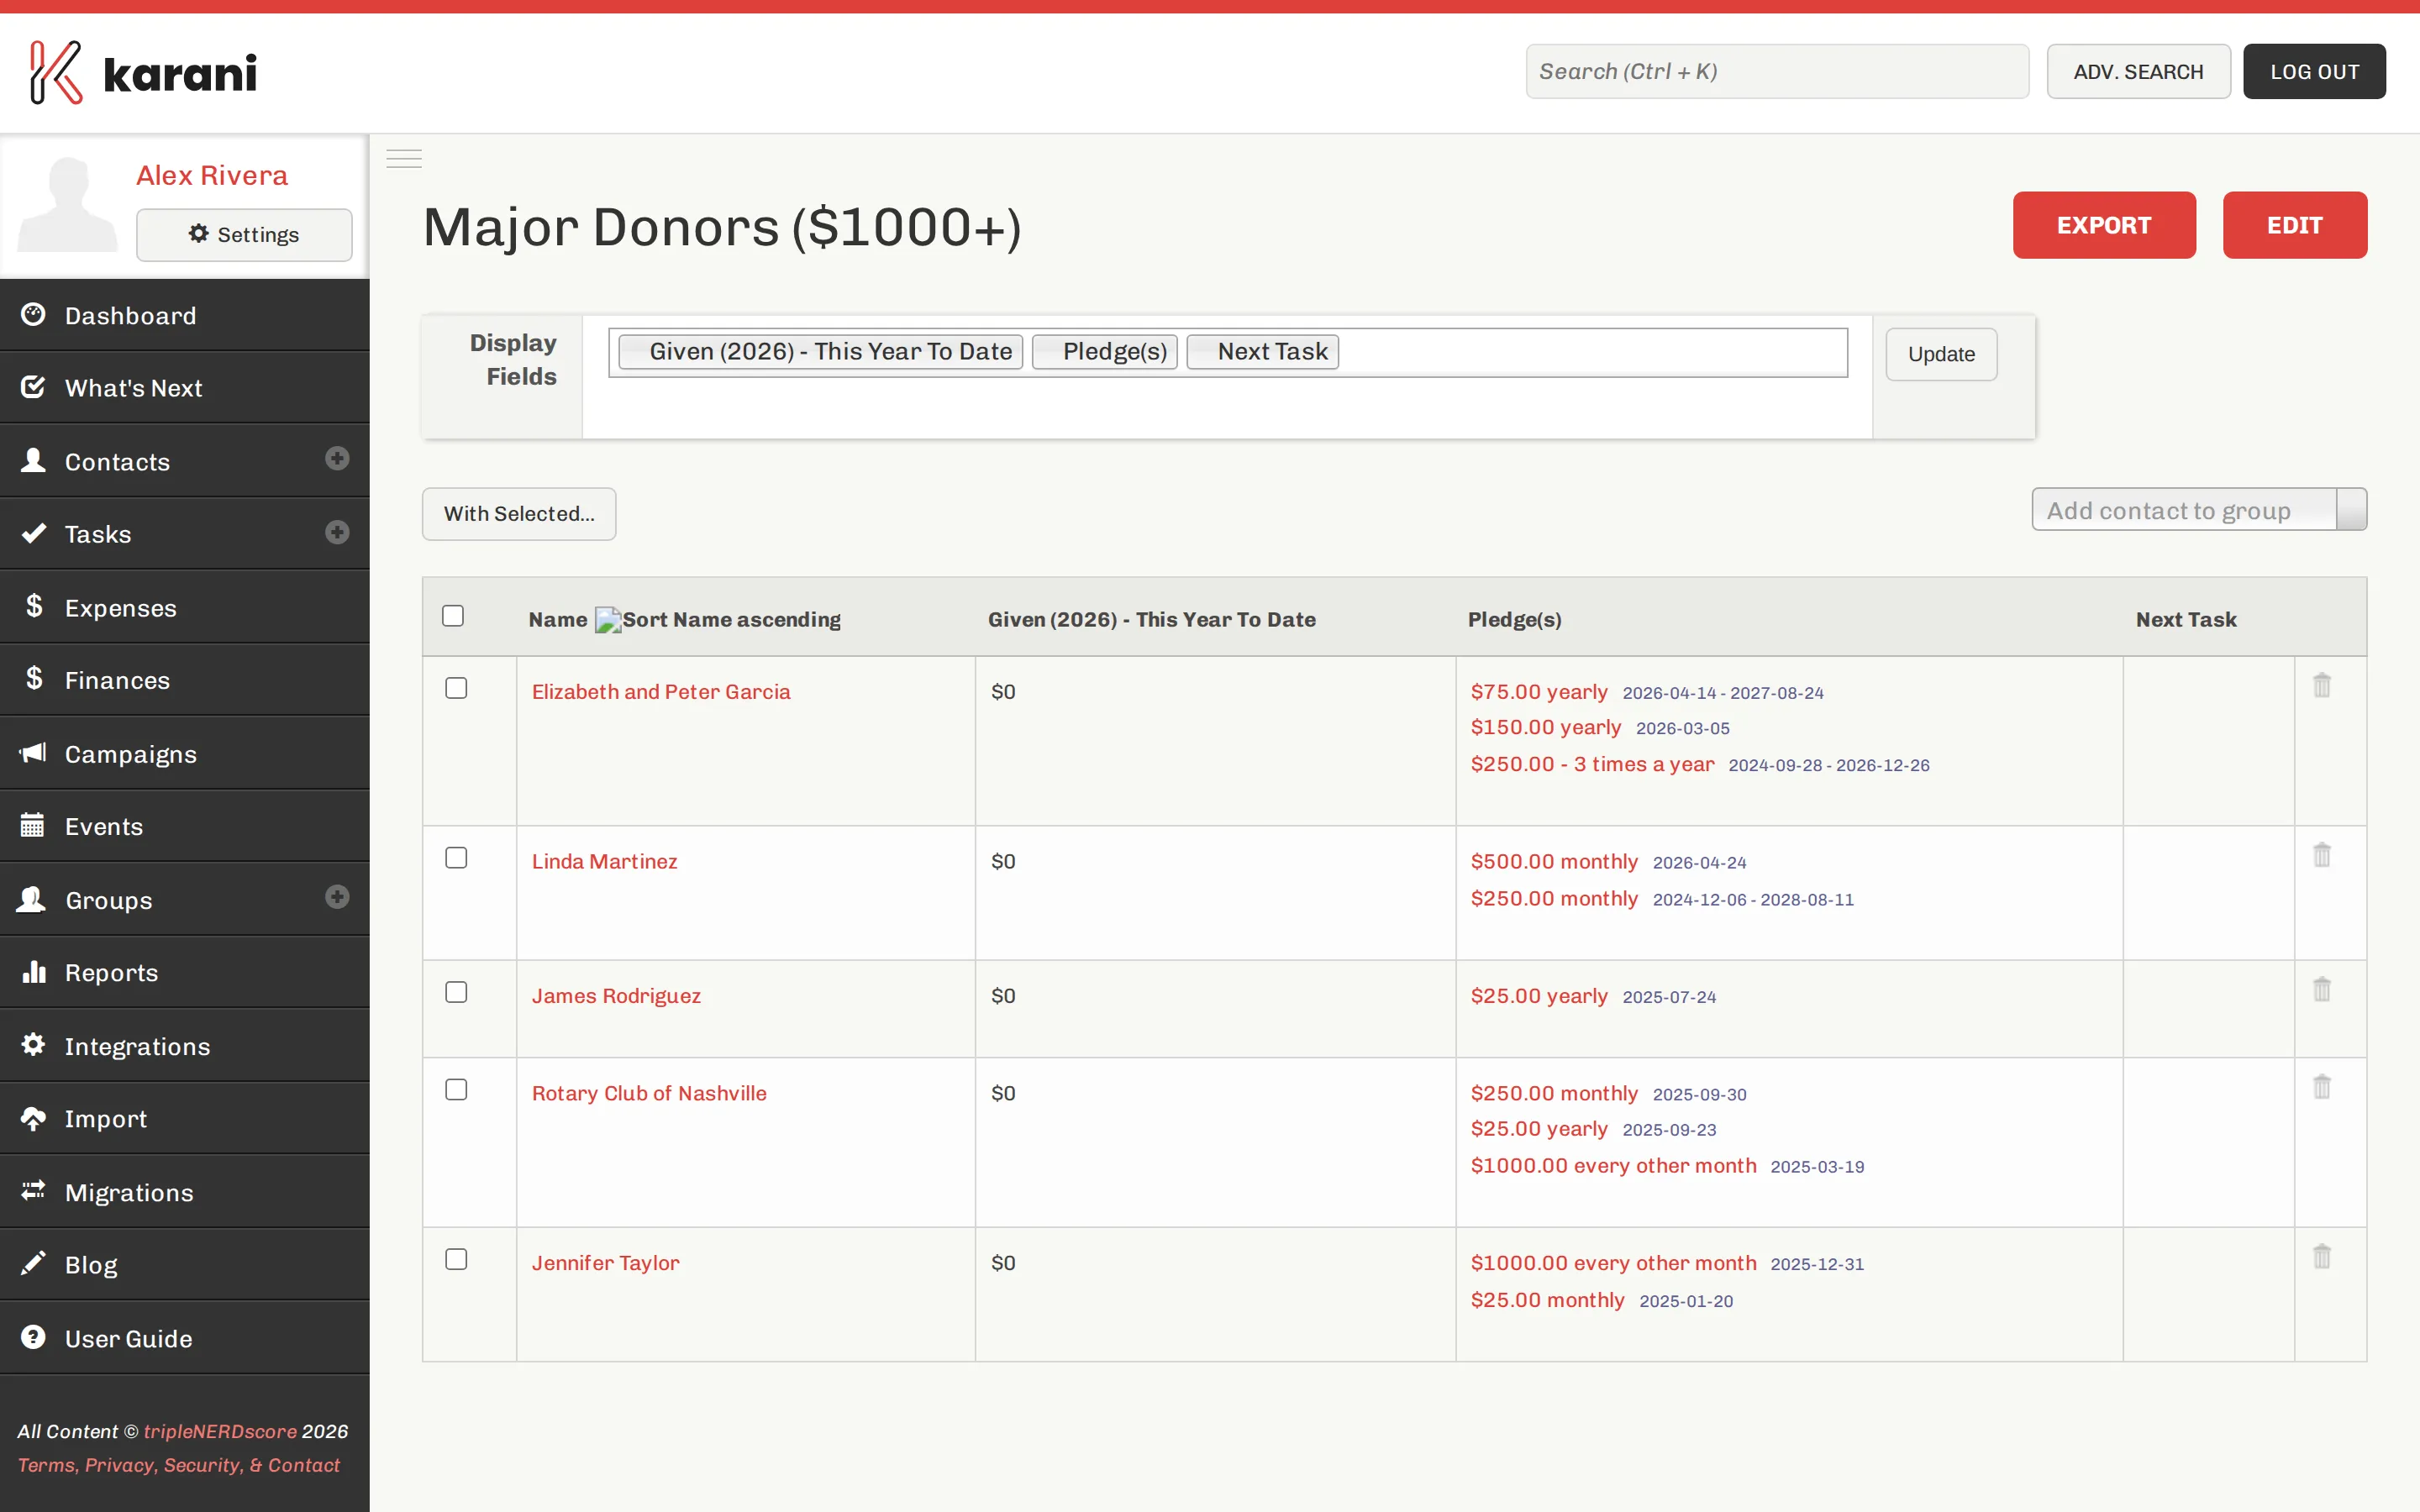
Section titled “Adding contacts”Use the dropdown on the group page to add contacts one at a time, or add people from their own profiles. See Adding & removing contacts.
To add a lot of people at once, run an advanced search, tick the results, and use With Selected… → Add to group.
Renaming or deleting
Section titled “Renaming or deleting”Open the group and use Edit to rename it, or Delete to remove it.
Deleting a group removes the grouping, not the contacts — everyone in it stays in your account with all their history. Any Mailchimp or PrayerLetters sync tied to that group stops.