

Expenses
Fundraising costs money — postage, travel, coffee, event deposits. Karani can track it alongside the income.
Turning expenses on
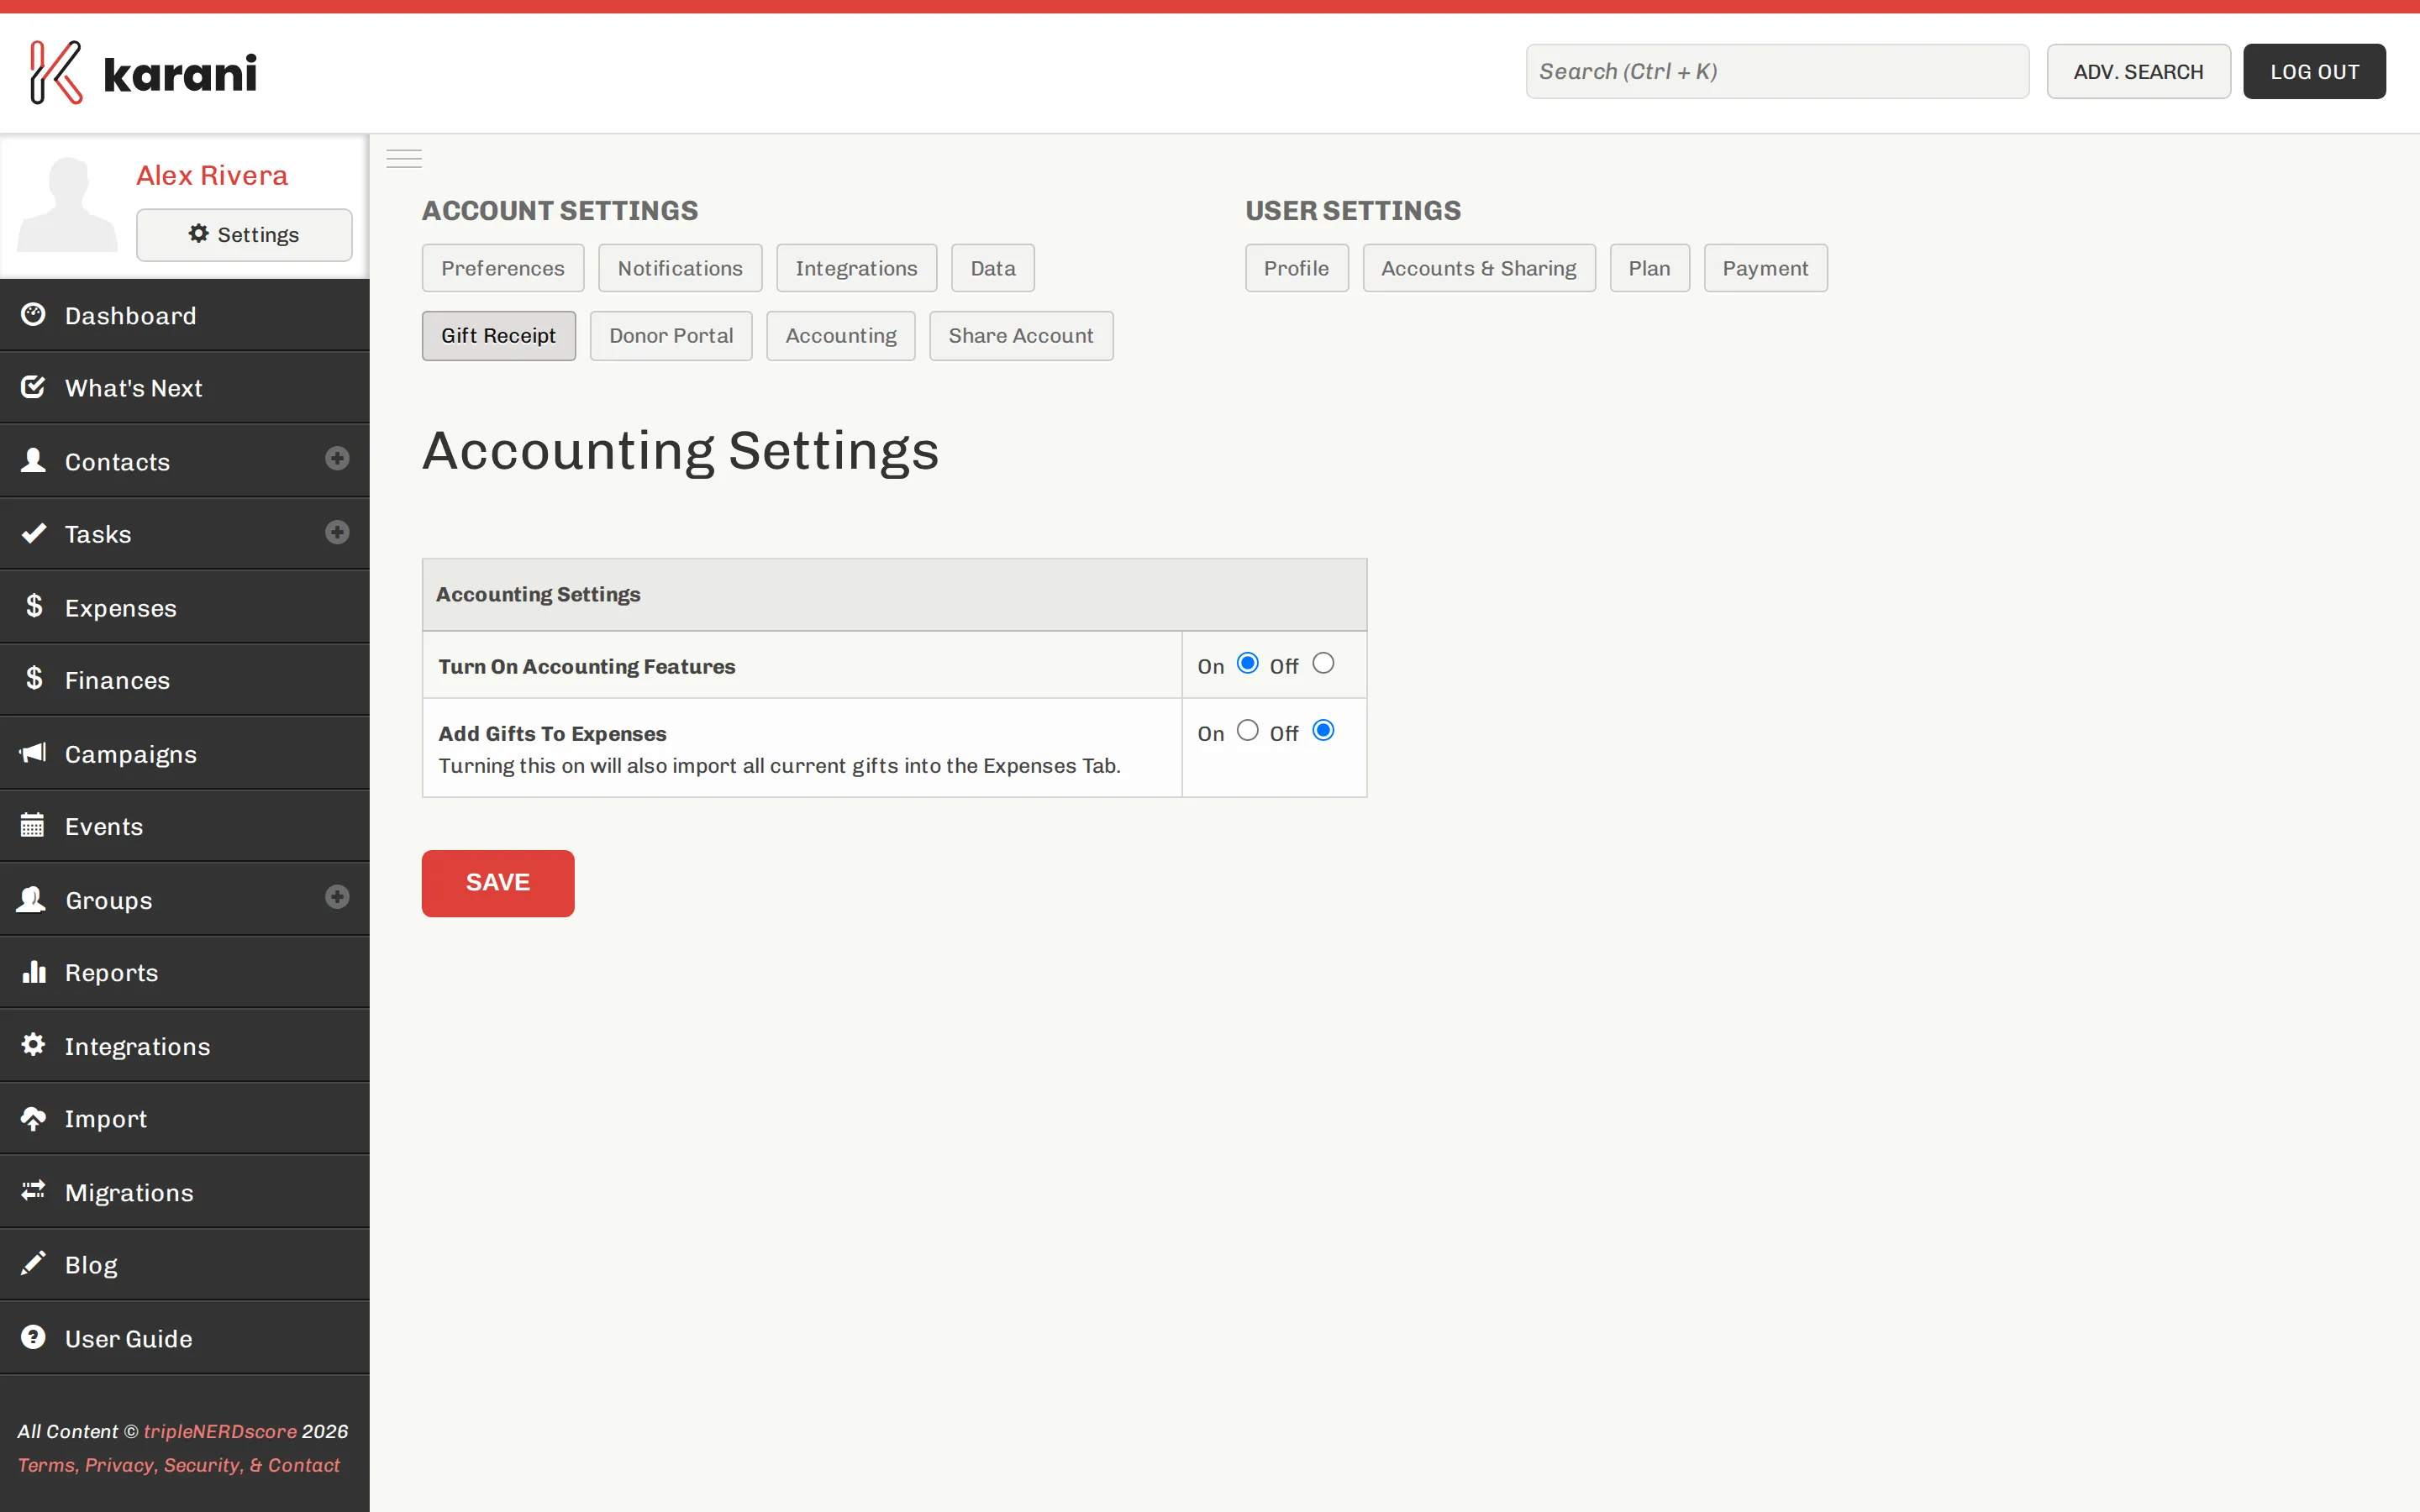
Section titled “Turning expenses on”Expenses only appear in the navigation when accounting is enabled for your account. If you don’t see Expenses, go to Settings → Accounting and turn it on.
Adding an expense
Section titled “Adding an expense”-
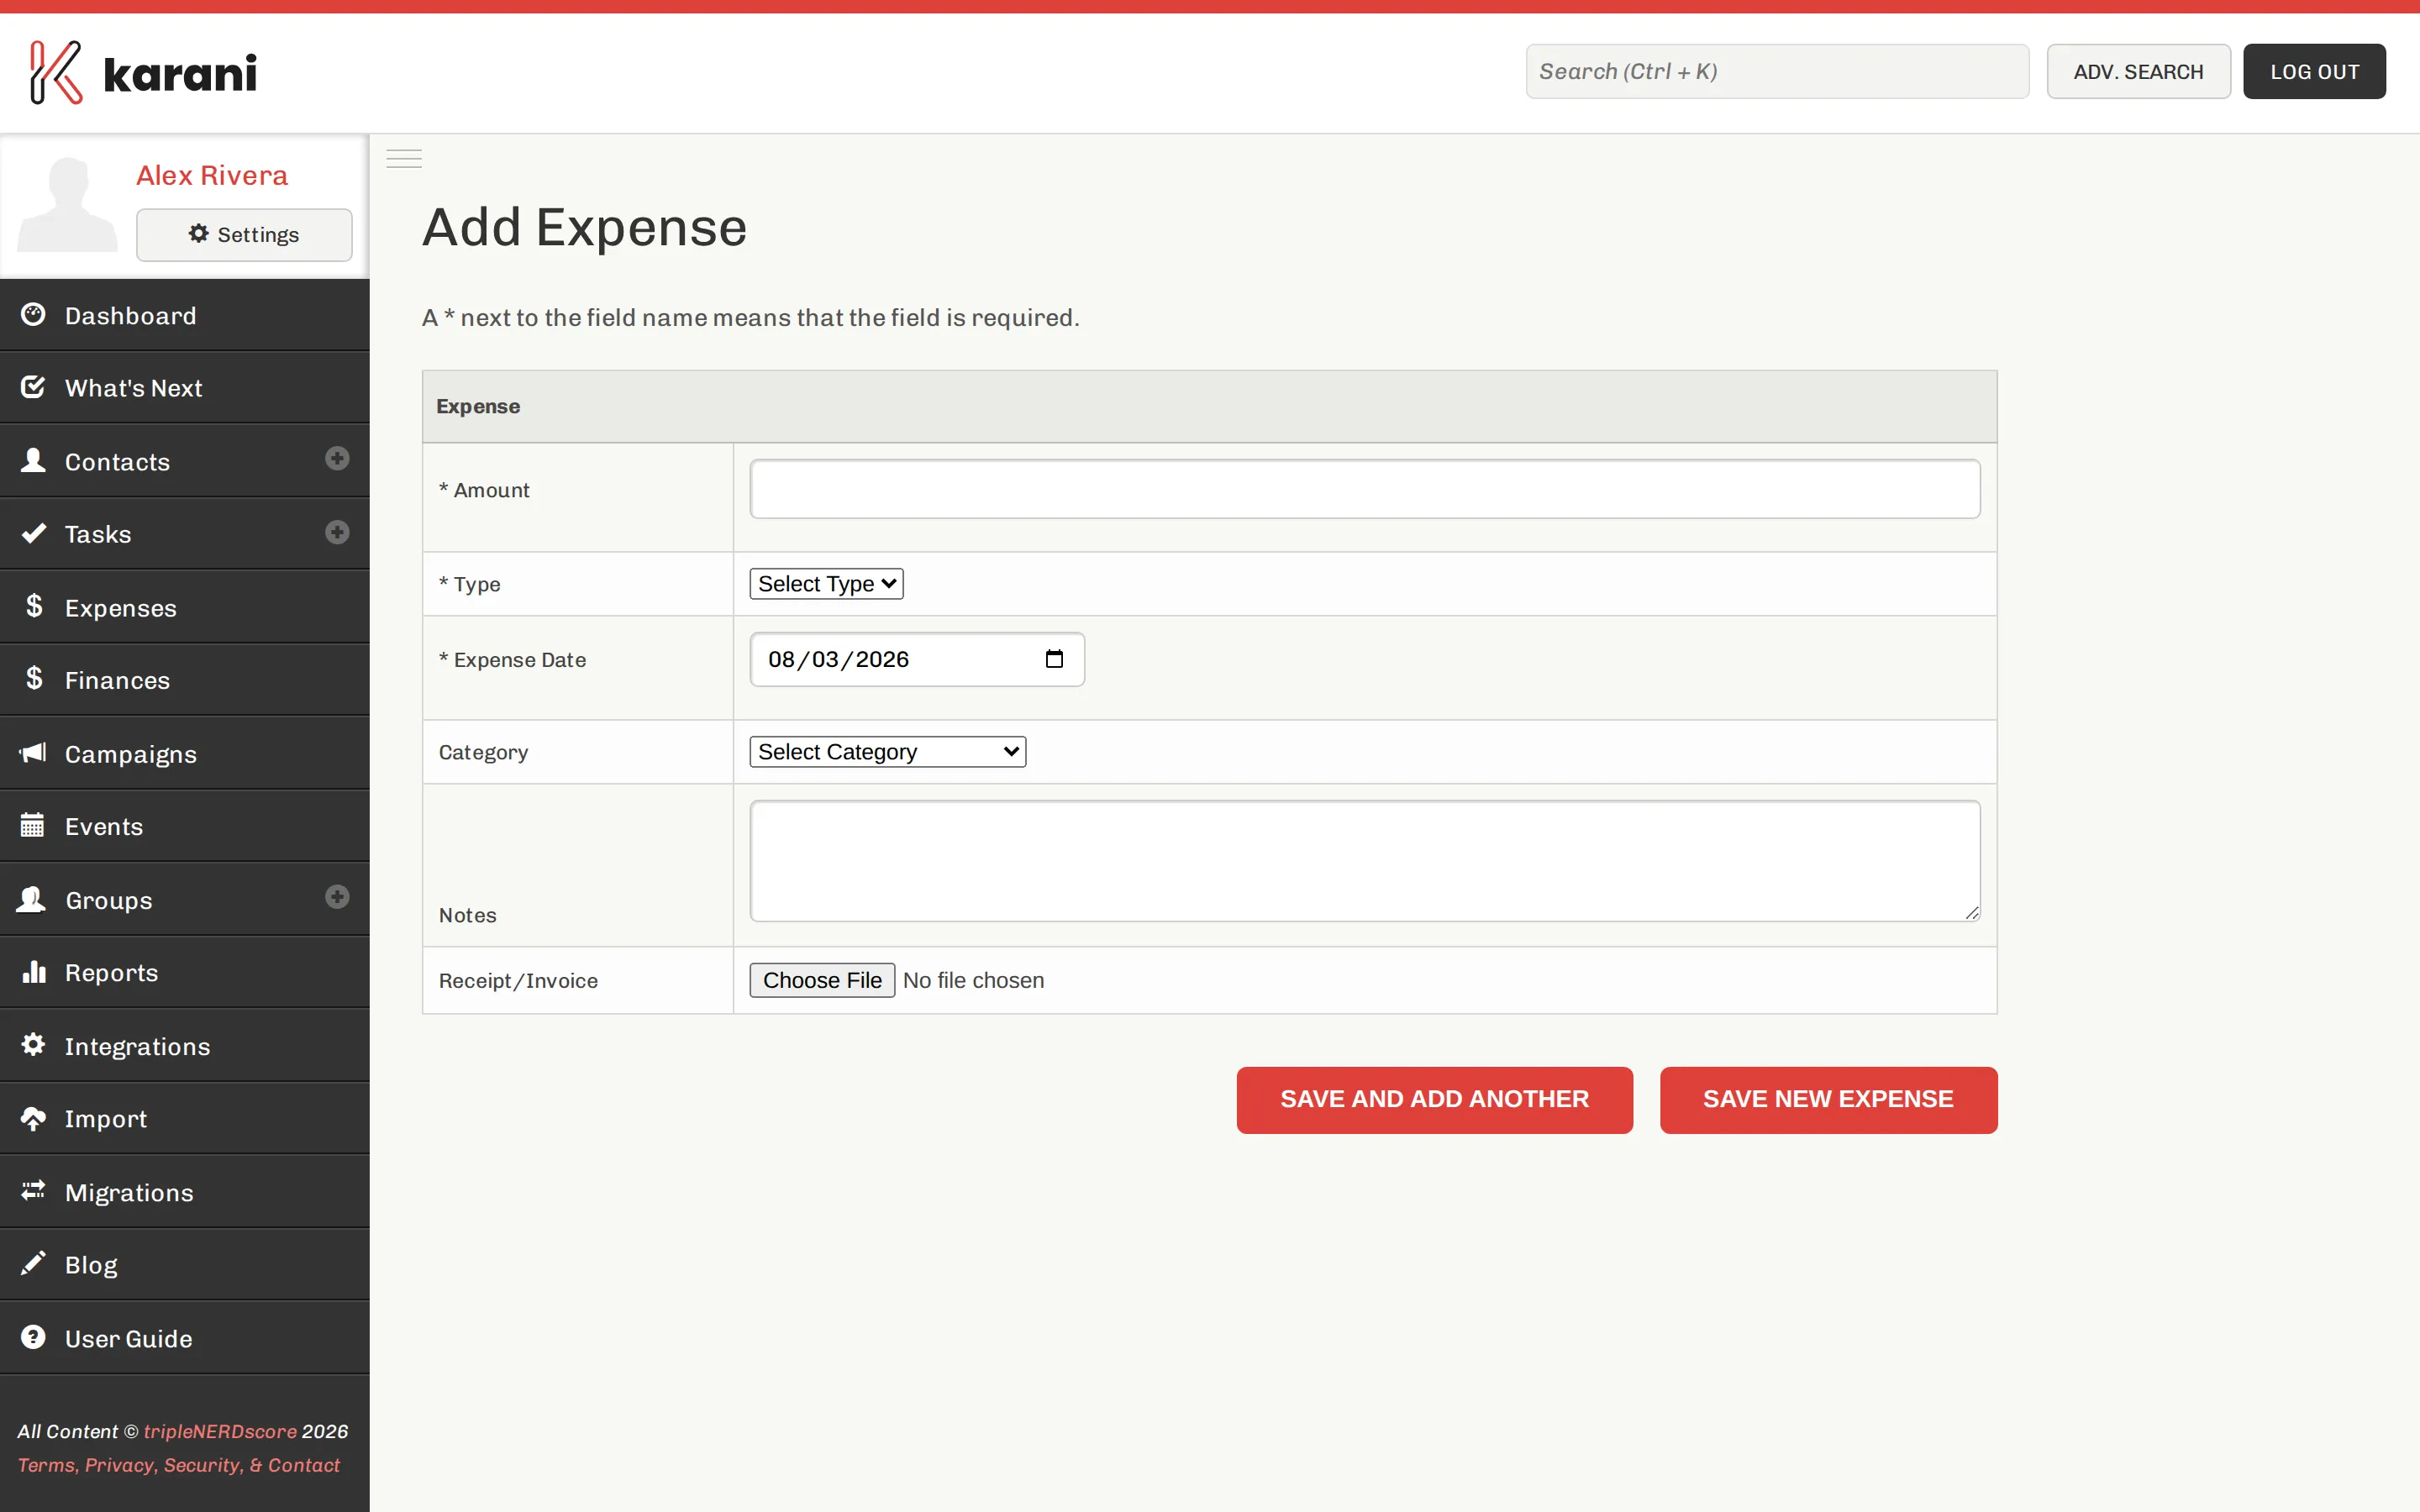
Go to Expenses and click to add one.
-
Fill in:
- Amount
- Date
- Category — see Expense categories
- Notes — what it actually was
- Receipt — optionally attach an image or PDF
-
Save.
The expenses list
Section titled “The expenses list”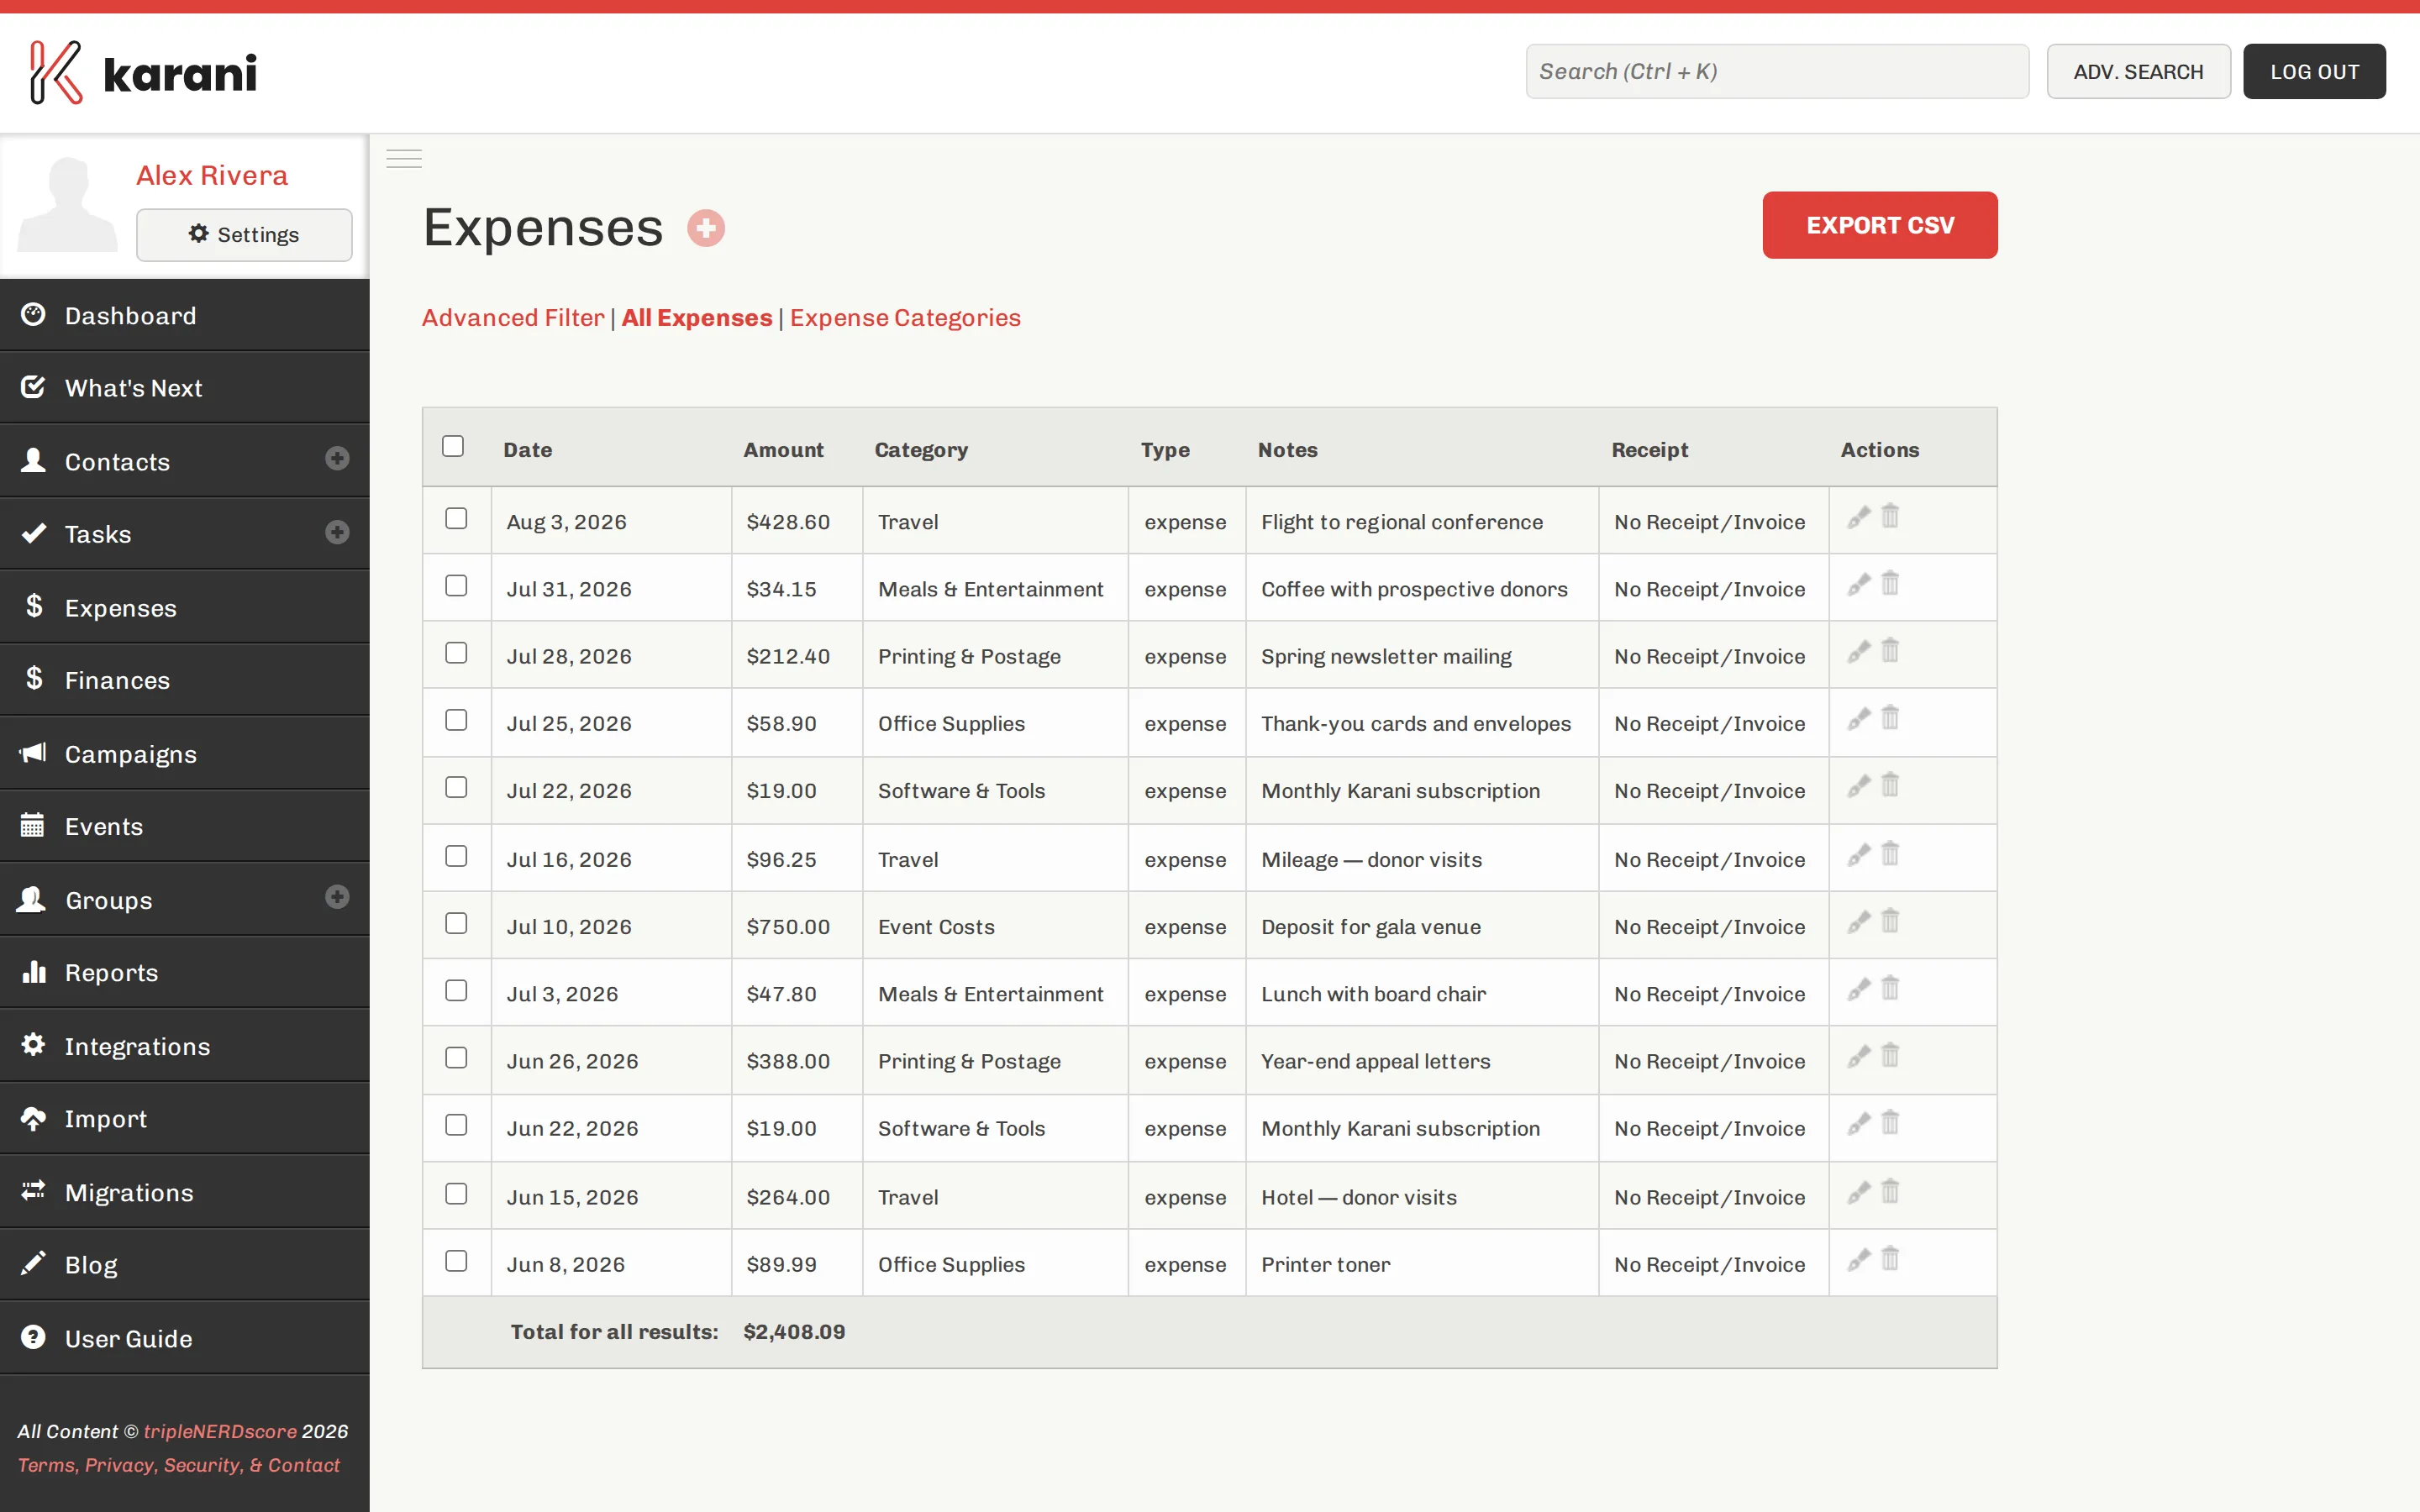
Filter by date range and category to answer questions like “what did the spring appeal actually cost?”
Export downloads the list as CSV for your own accounting or for whoever handles reimbursements.
Income vs. expense
Section titled “Income vs. expense”Your dashboard shows an income and expense chart for the last three months. Categories are typed as either income or expense, and the chart plots them against each other.
That comparison is the point of tracking expenses at all: it tells you what your fundraising actually nets, not just what it raises.
Editing and deleting
Section titled “Editing and deleting”Click an expense in the list to open it, then edit or delete.
Importing expenses
Section titled “Importing expenses”If you already track expenses in a spreadsheet, bring them in with the expenses importer rather than retyping.
Expenses and gifts
Section titled “Expenses and gifts”An expense can be linked to a gift, for cases where a cost is directly attributable to a specific piece of income. Most expenses aren’t, and leaving that unset is fine.