

Inviting donors
Enabling the portal doesn’t tell anyone about it. Invitations do.
Go to Settings → Donor Portal → Manage donor invitations, or karani.co/account/donor-portal/invites.
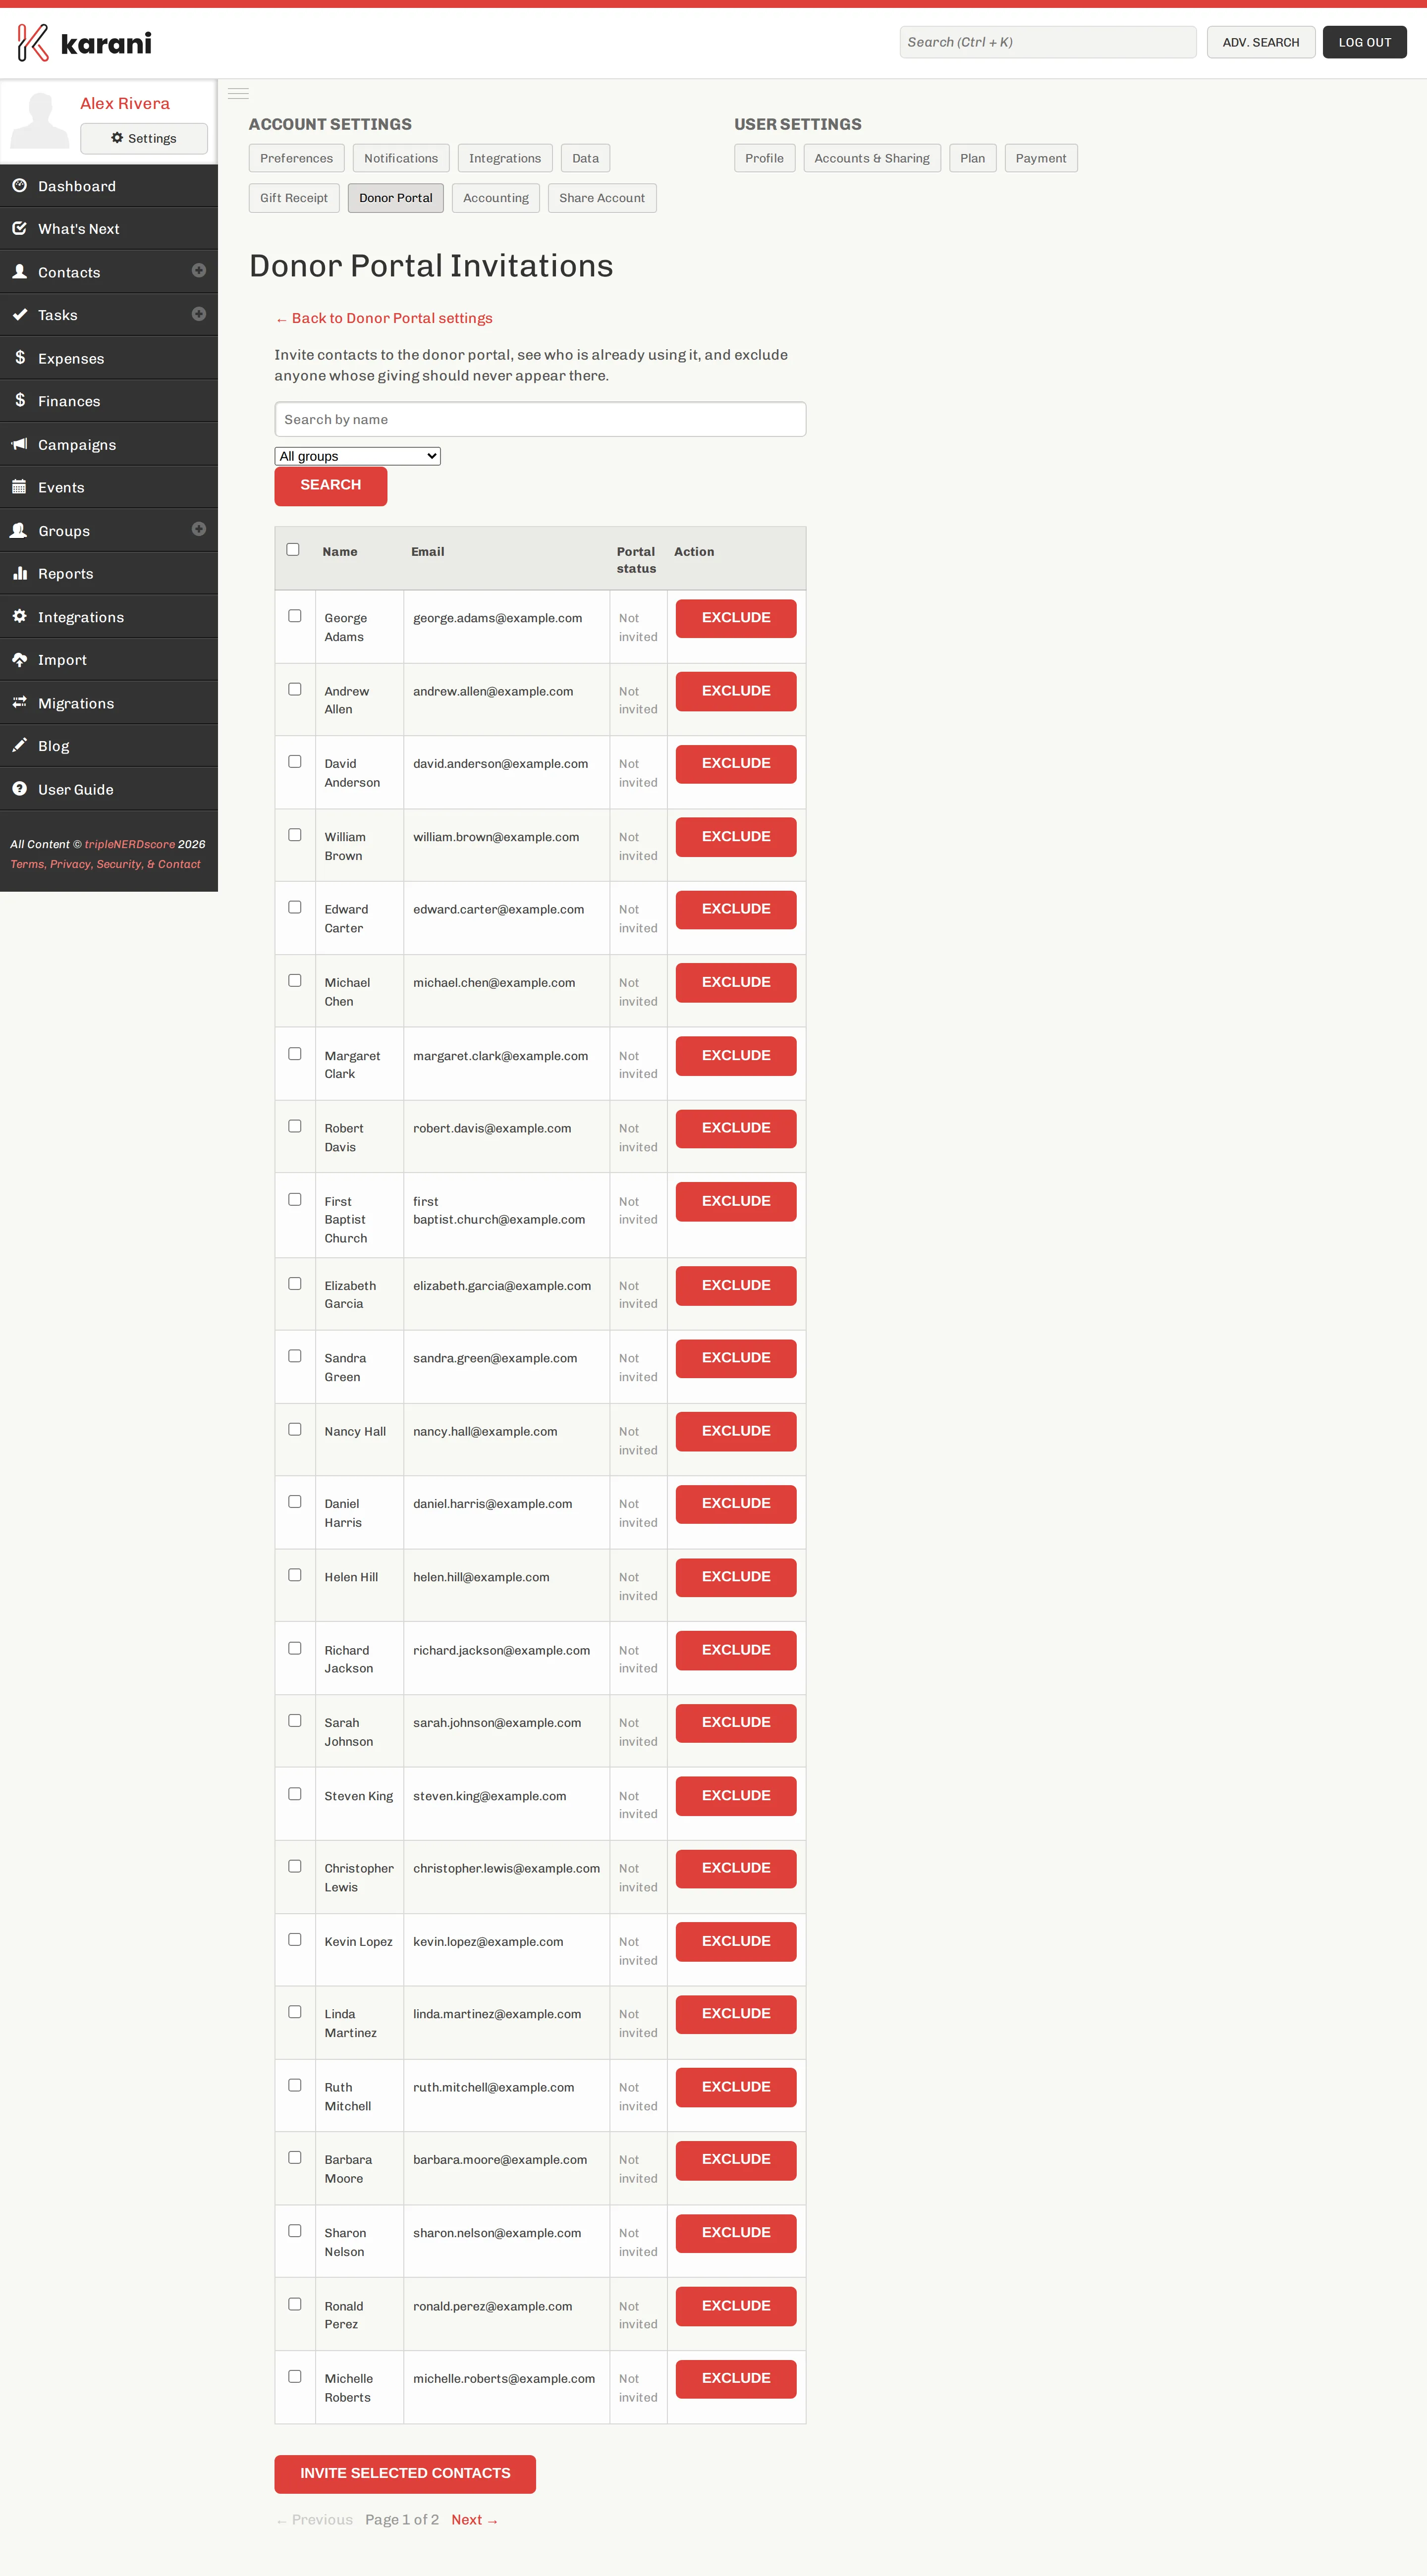
Sending invitations
Section titled “Sending invitations”- Individually — send to specific contacts. Good for starting with a few people you know will use it.
- To everyone — invite all eligible contacts at once.
An invitation email tells the donor the portal exists and how to sign in.
Who can be invited
Section titled “Who can be invited”A contact needs an email address. Contacts without one can’t be invited, and contacts you’ve excluded are skipped.
The email used is the contact’s first email address — see Emails, phones & addresses.
What the donor does
Section titled “What the donor does”- Opens the invitation and clicks through, or goes to the portal address directly.
- Enters their email address.
- Receives a sign-in link.
- Clicks it and they’re in.
No password, so nothing to forget or reset.
Re-sending
Section titled “Re-sending”The invitations page shows invitation status per contact, so you can see who hasn’t been invited and send again.
Sign-in links themselves are single-use and time-limited by design. A donor whose link has expired just requests another from the portal.
Do you need to invite at all?
Section titled “Do you need to invite at all?”No. The portal address works for any donor who has it, whether or not they were formally invited. Some people prefer to put the link in their newsletter and email signature rather than sending a separate invitation — that works fine, and generates less email.