

Creating a campaign
-
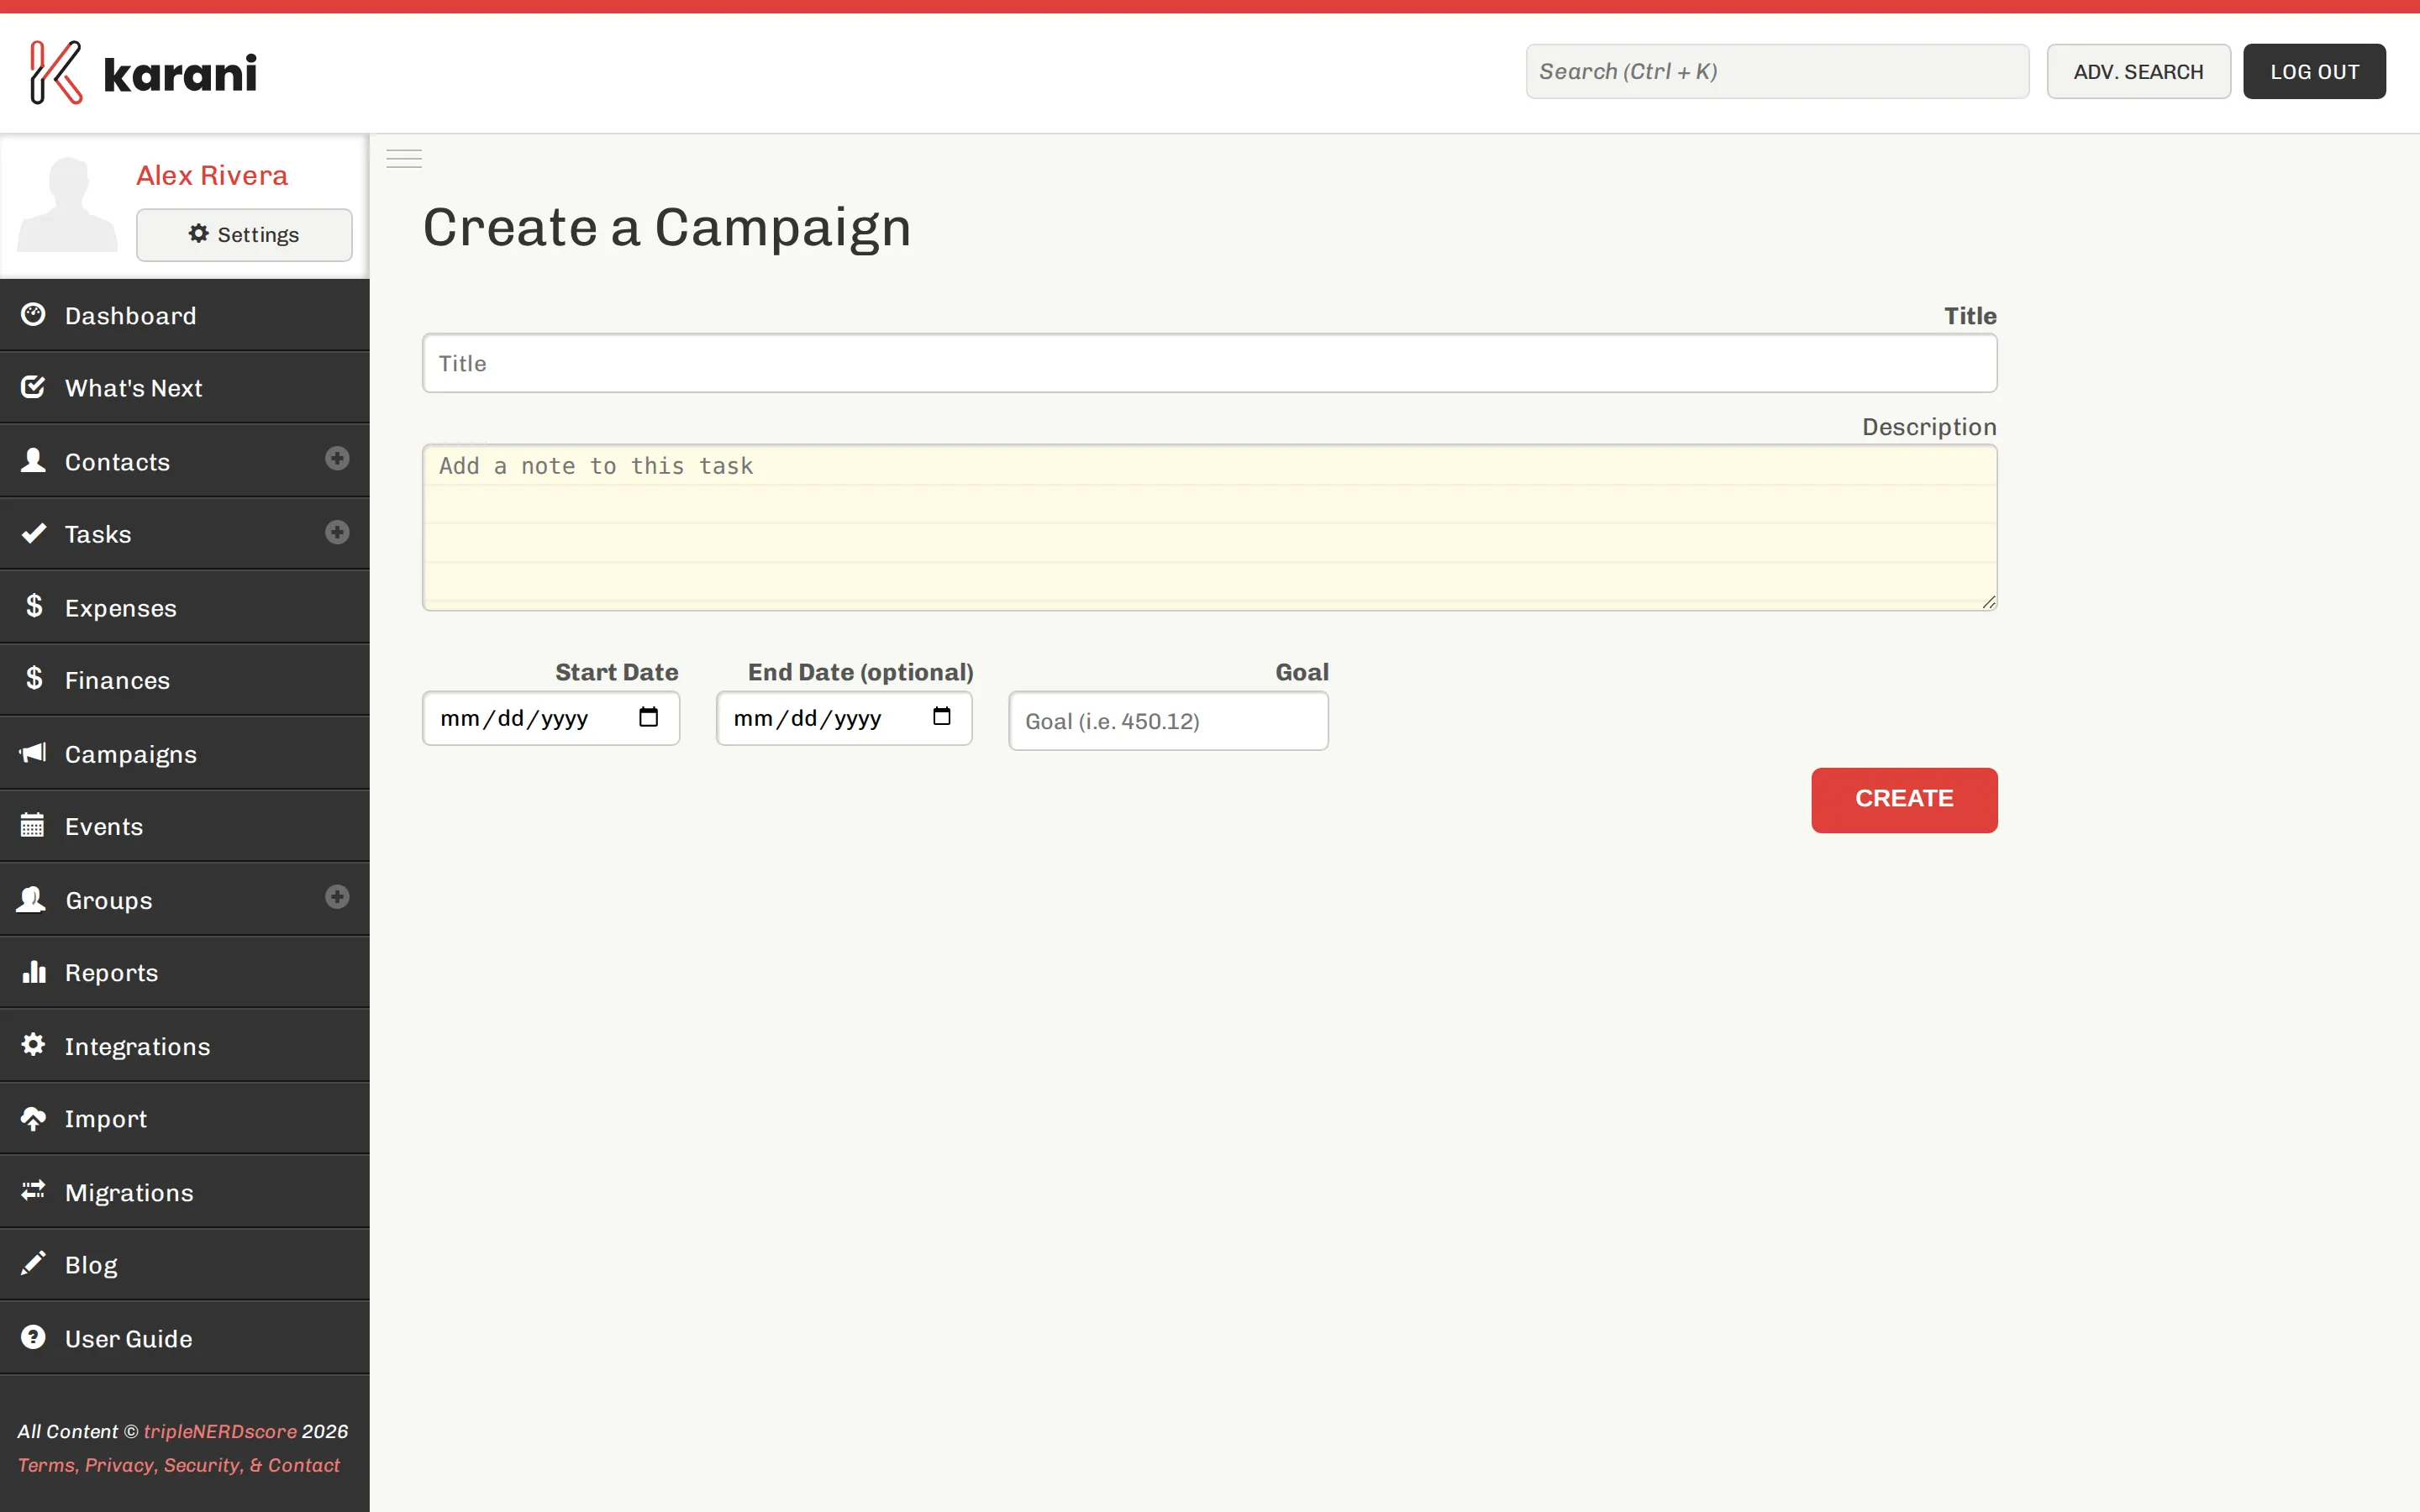
Go to Campaigns in the left navigation and choose to create one.
-
Fill in:
Field Notes Name What you’d call it out loud — “Year-End Giving 2025”. Description Optional. What the campaign is for. Goal amount The target for this campaign specifically. Start date When it opens. End date When it closes. Gifts outside the window aren’t counted. -
Save.
You land on the campaign page, which shows the goal, progress, gifts, and a task box.
Attributing gifts
Section titled “Attributing gifts”Gifts are linked to a campaign when their date falls within the campaign’s period. When you add a gift during an active campaign, it appears in that campaign’s gift list.
You can also add a gift directly from the campaign page using the + on the Gifts panel — useful when you’re entering a batch from one appeal.
Tasks on a campaign
Section titled “Tasks on a campaign”The Tasks panel on the campaign page works like the one on a contact profile. Use it for the campaign’s own workflow — “draft the letter”, “order the envelopes”, “follow up with non-responders”.
Naming that stays useful
Section titled “Naming that stays useful”Include the year. “Year-End Giving” is ambiguous the moment you run it twice; “Year-End Giving 2025” is still clear in three years when you’re comparing.
Deactivating a campaign
Section titled “Deactivating a campaign”When a campaign is finished, click Deactivate on its page. It stops appearing as active on your dashboard, and its final figures stay available for comparison.
Deactivating isn’t deleting — the campaign, its goal, and its gifts remain.
Editing
Section titled “Editing”Edit on the campaign page changes the name, description, goal, or dates.
Changing the dates changes which gifts fall inside the window, so the raised figure will move. That’s expected — but don’t extend a finished campaign’s dates to make its numbers look better, or next year’s comparison becomes meaningless.