

Adding & removing contacts
From a contact’s profile
Section titled “From a contact’s profile”Open the contact. The Groups panel on the right lists every group in your account with a tick box beside each.
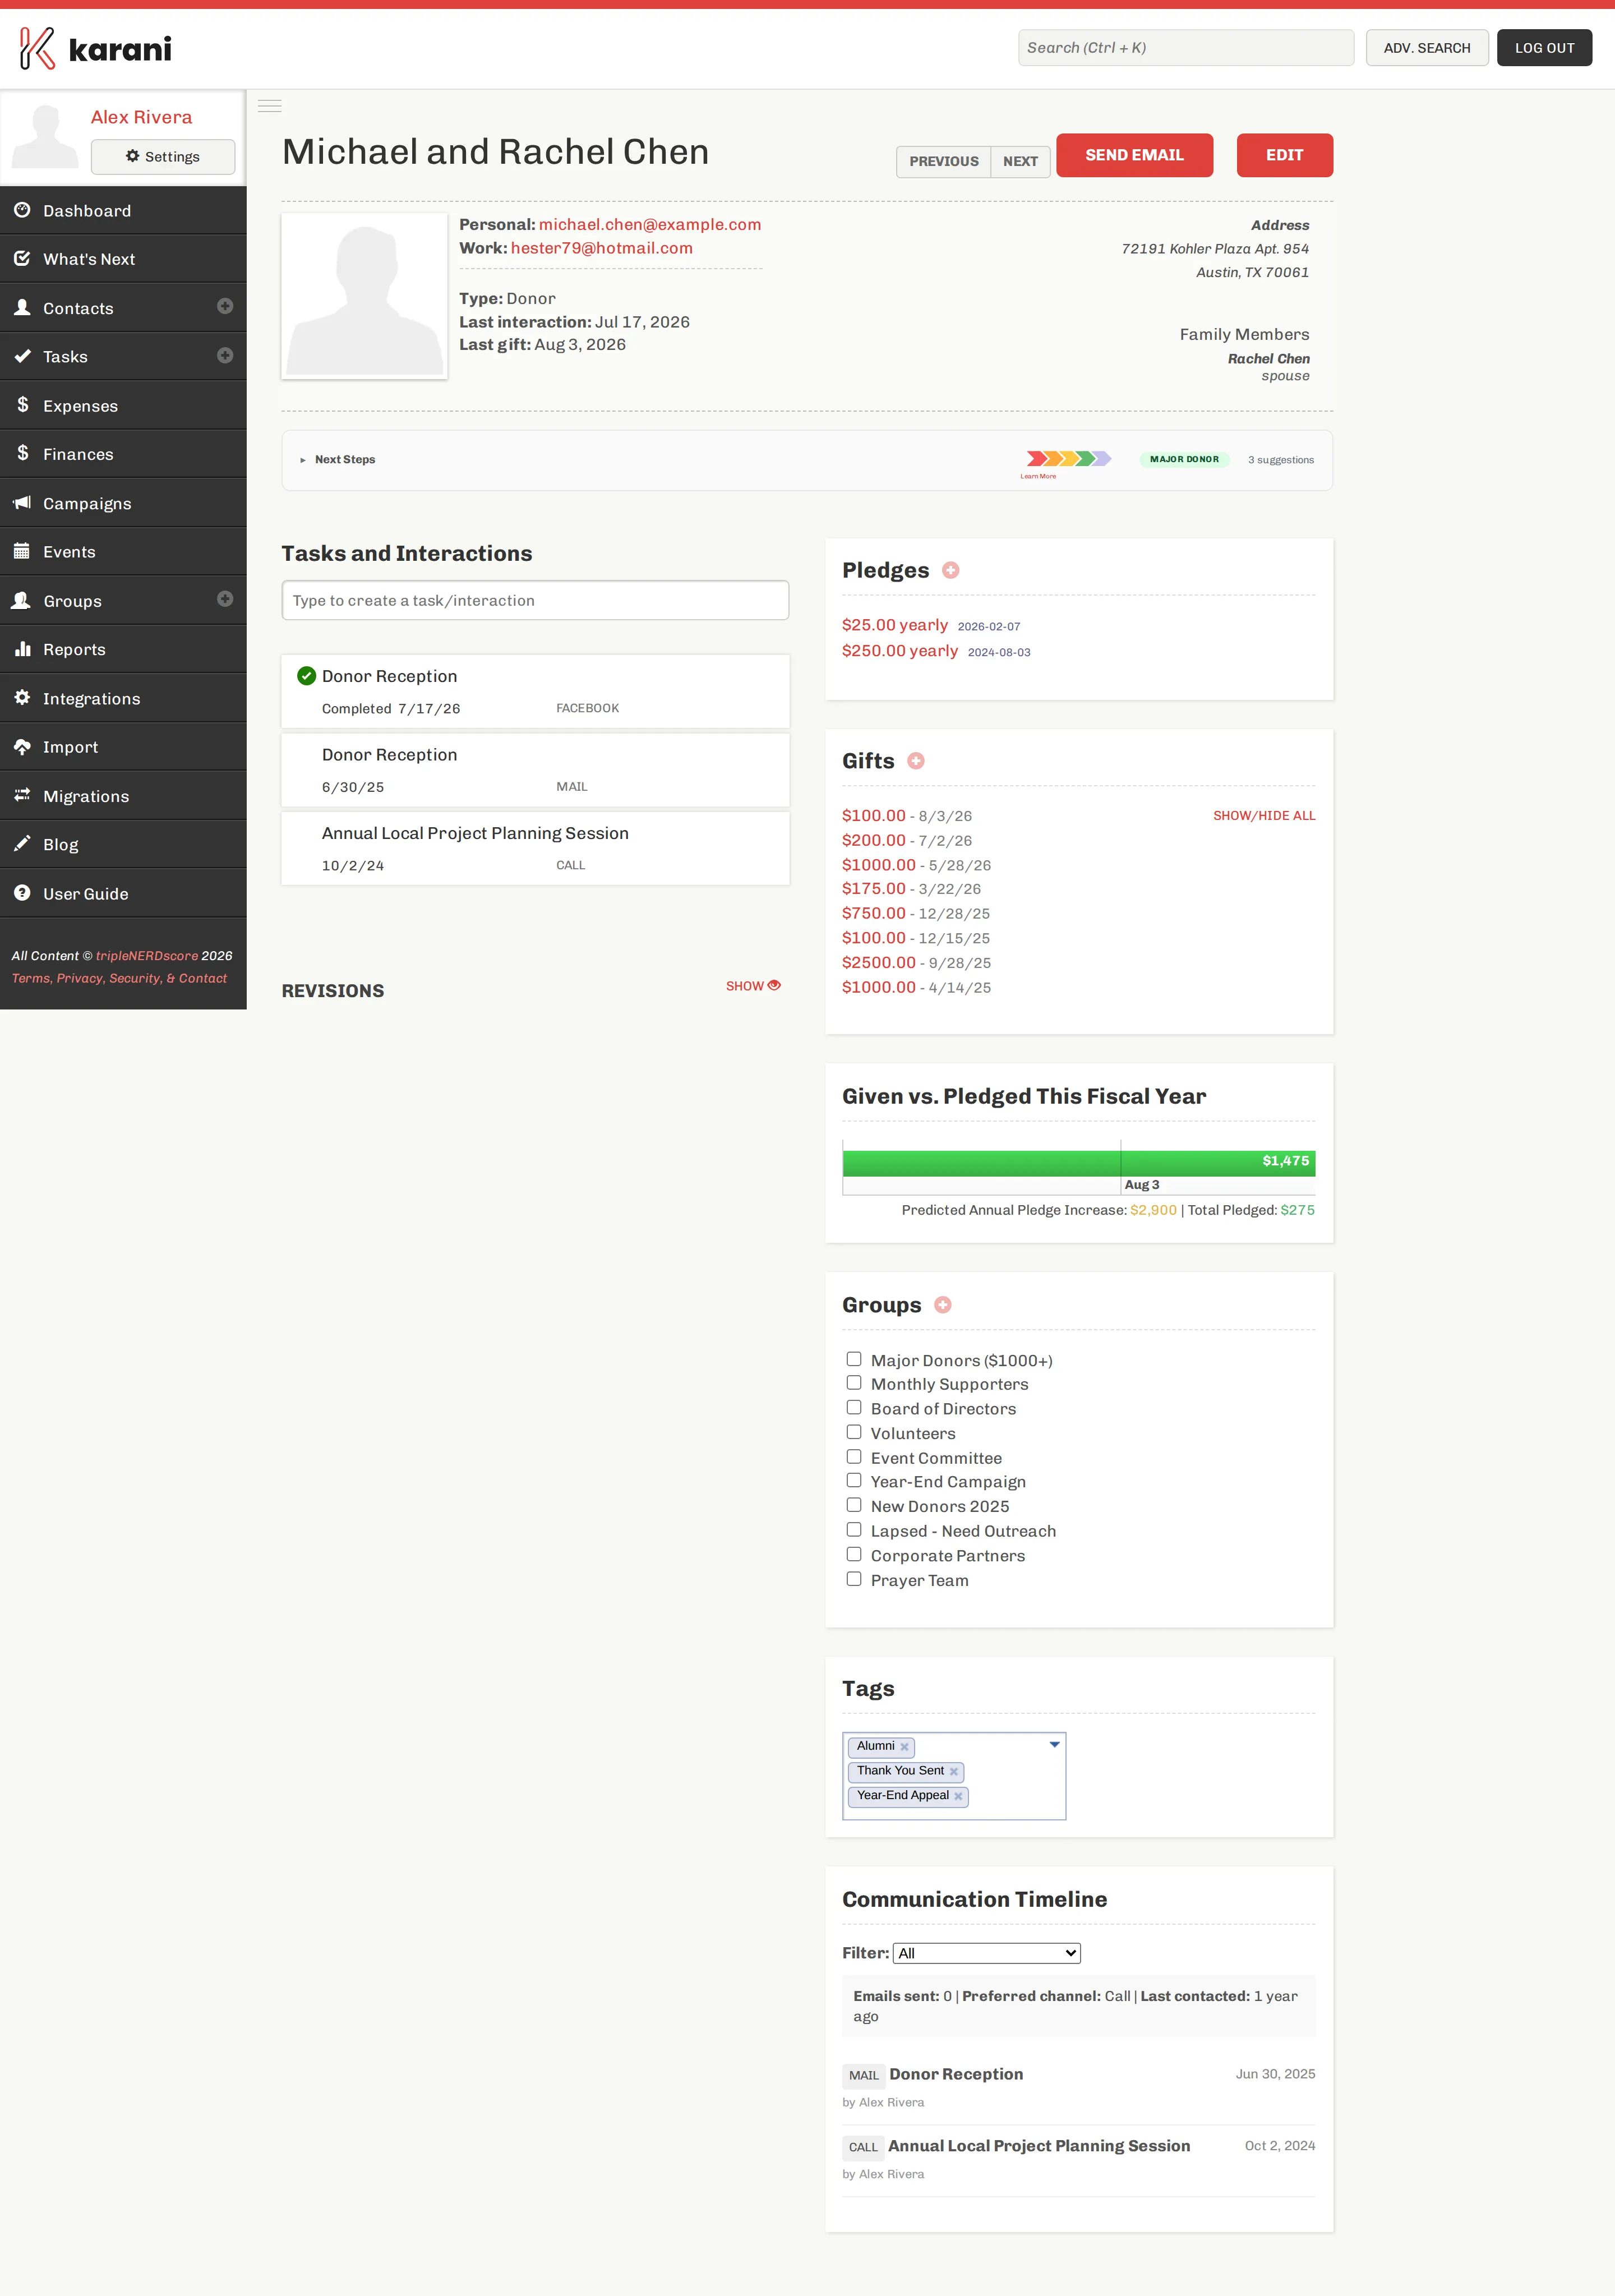
Changes save as you click — there’s no separate save button.
This is the right route when you’re already looking at a person and thinking “they should be on the newsletter list”.
From the group’s page
Section titled “From the group’s page”Open the group from the Groups page.
- To add: use the contact dropdown and pick a name.
- To remove: click the trash icon next to the person’s name.
This is the right route when you’re building or tidying a list.
In bulk
Section titled “In bulk”For anything more than a handful of people, don’t click one at a time.
- Get the contacts on screen — either the contacts list with a status filter, or an advanced search.
- Tick the ones you want. The header checkbox selects everything on the page.
- Choose With Selected… → Add to group and pick the group.
Adding contacts during an import
Section titled “Adding contacts during an import”The contacts importer can add every imported row to a group as part of the import. That’s the cleanest way to bring in, say, a list of event attendees and have them grouped on arrival.
What removal does and doesn’t do
Section titled “What removal does and doesn’t do”Removing someone from a group only removes the membership. The contact keeps their profile, giving history, tags, and every other group.