

Creating an event
-
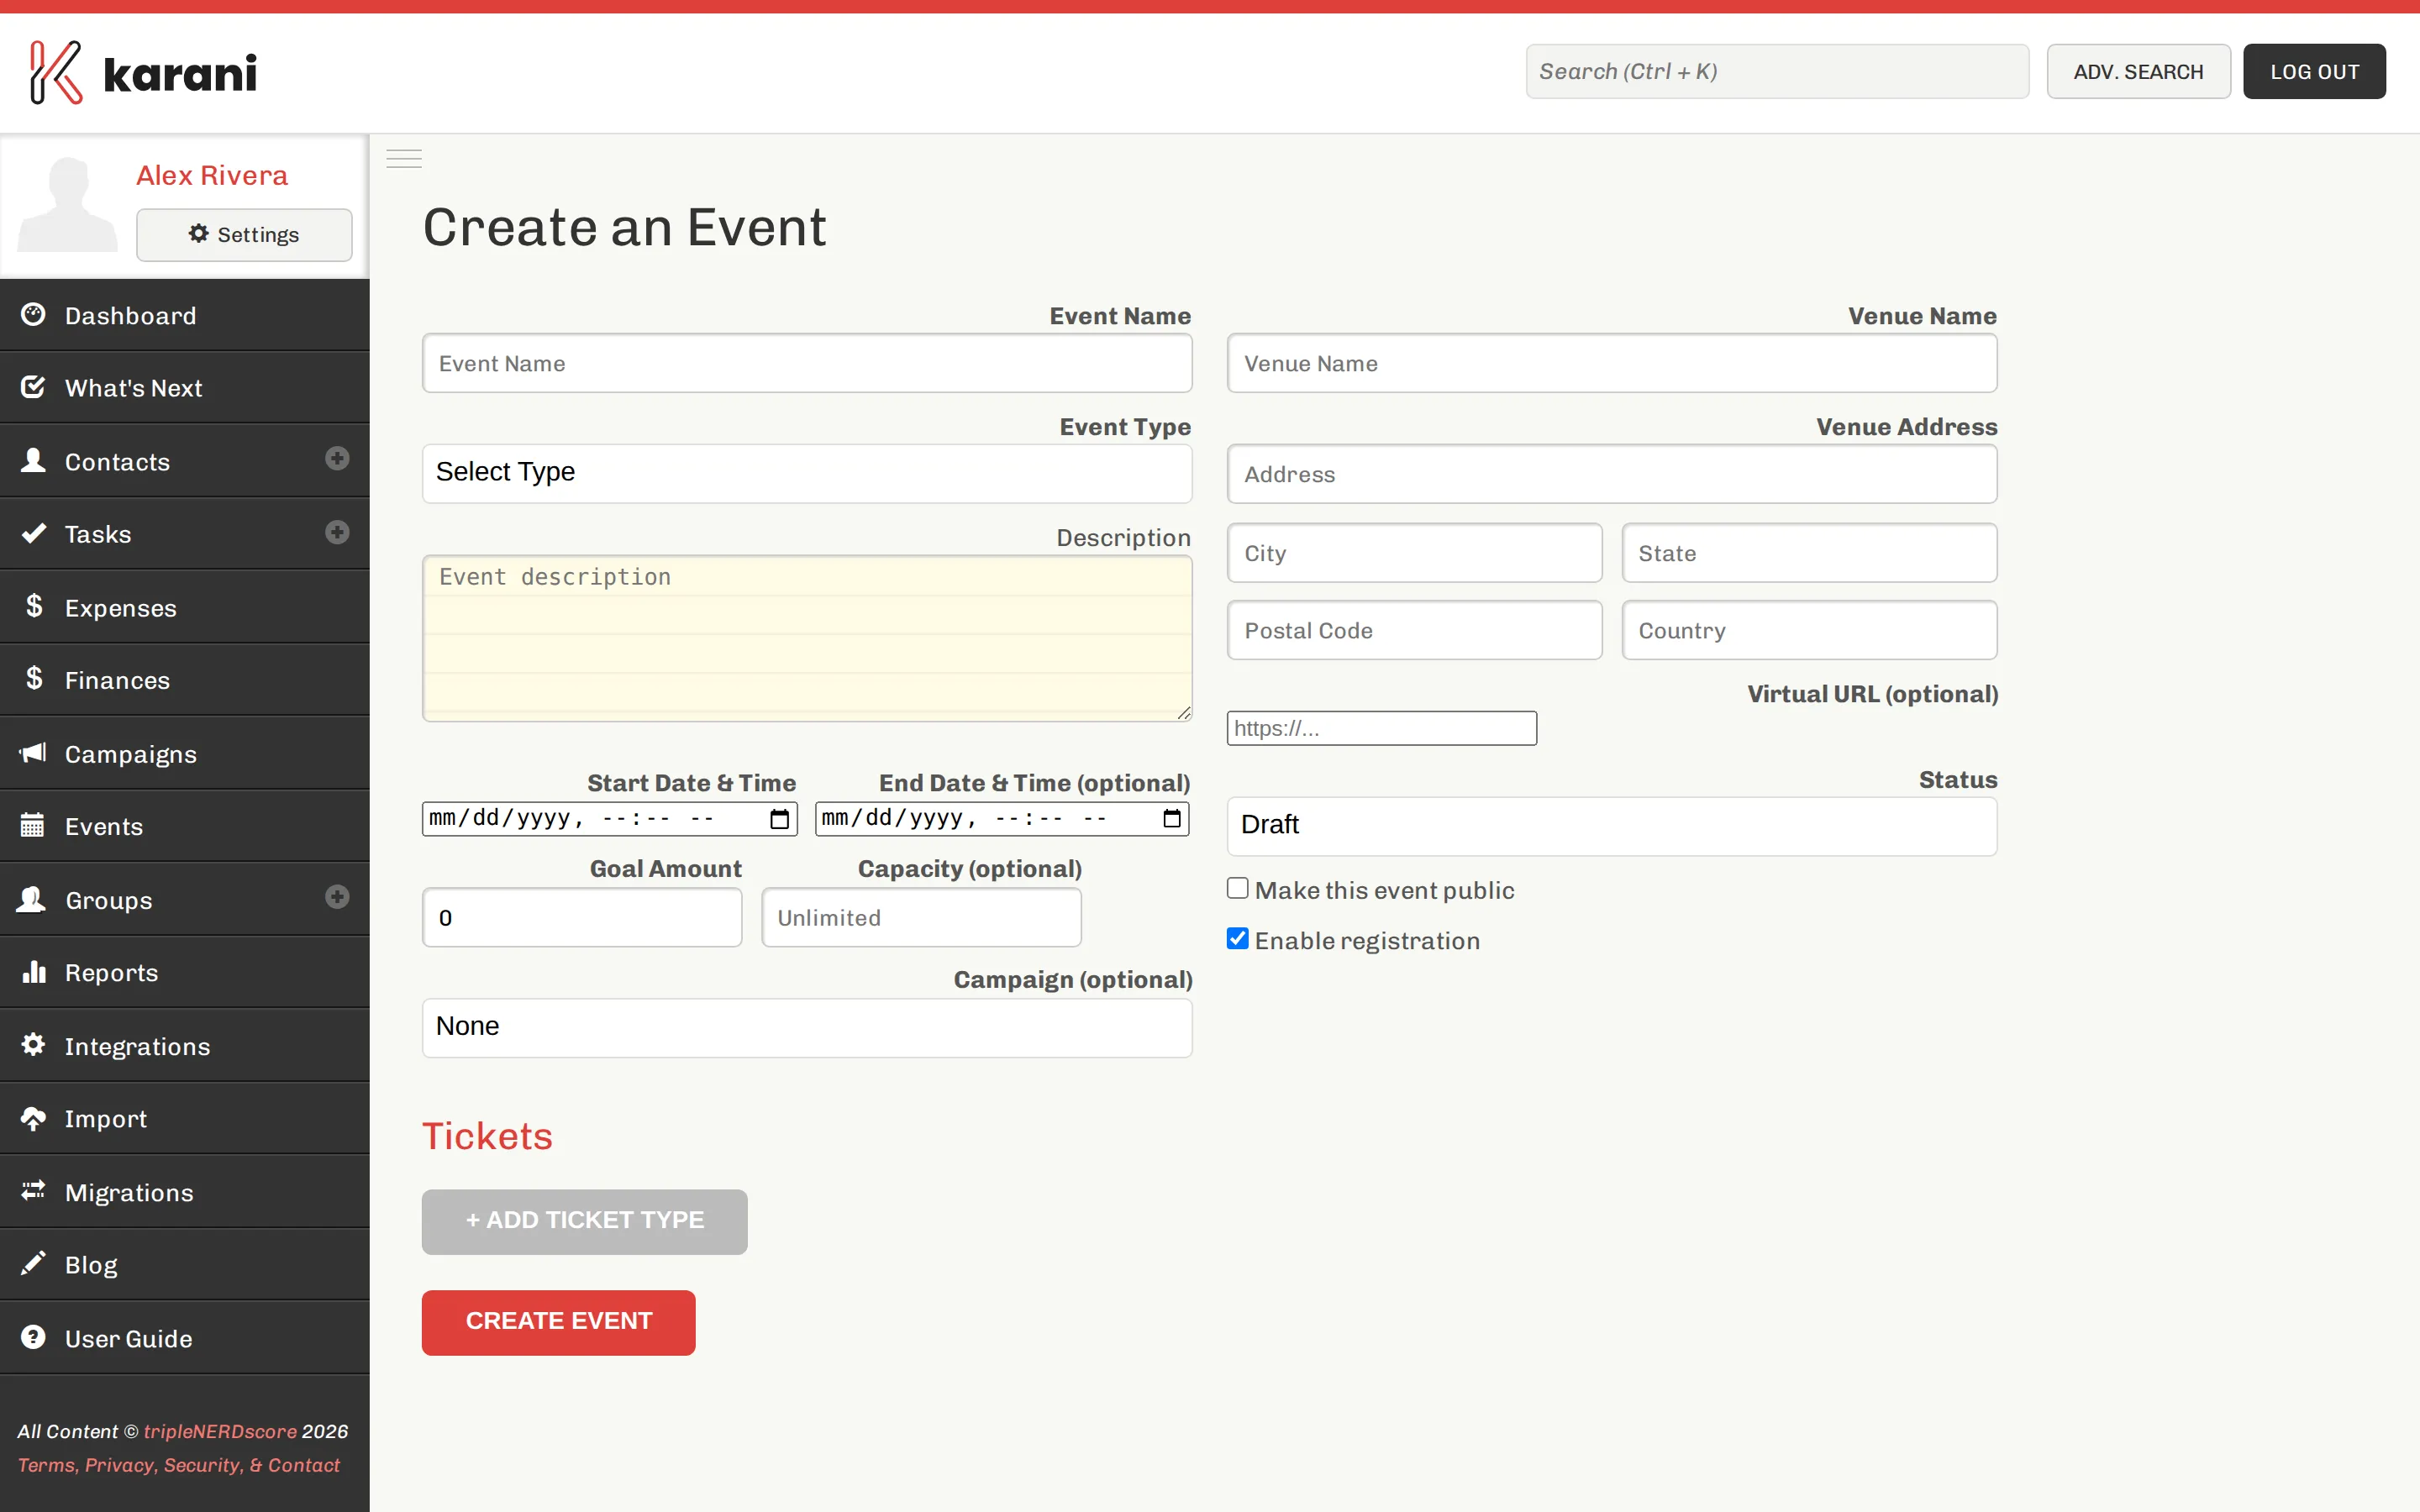
Go to Events in the left navigation and create a new one.
-
Fill in the details.
The fields
Section titled “The fields”Basics
Section titled “Basics”| Field | Notes |
|---|---|
| Name | Include the year — “Annual Charity Gala 2025”. |
| Description | Shown on the public registration page. This is your pitch. |
| Event type | In person, virtual, or hybrid. |
| Start date / End date | With times. |
| Timezone | Set this correctly, or registrants in other timezones see the wrong time. |
Venue name, address, city, state, postal code, and country — all shown on the public page.
For a virtual or hybrid event, set the virtual URL instead of, or as well as, the physical venue.
Capacity and goal
Section titled “Capacity and goal”- Capacity — the maximum number of attendees. Used for the capacity-used figure on the event dashboard.
- Goal amount — the fundraising target for this event.
Registration
Section titled “Registration”- Registration enabled — whether the public page accepts sign-ups.
- Registration deadline — when it closes.
- Is public — whether the event page is reachable by anyone with the link.
Campaign
Section titled “Campaign”Optionally link the event to a campaign, so what it raises rolls up into a wider appeal.
After you save
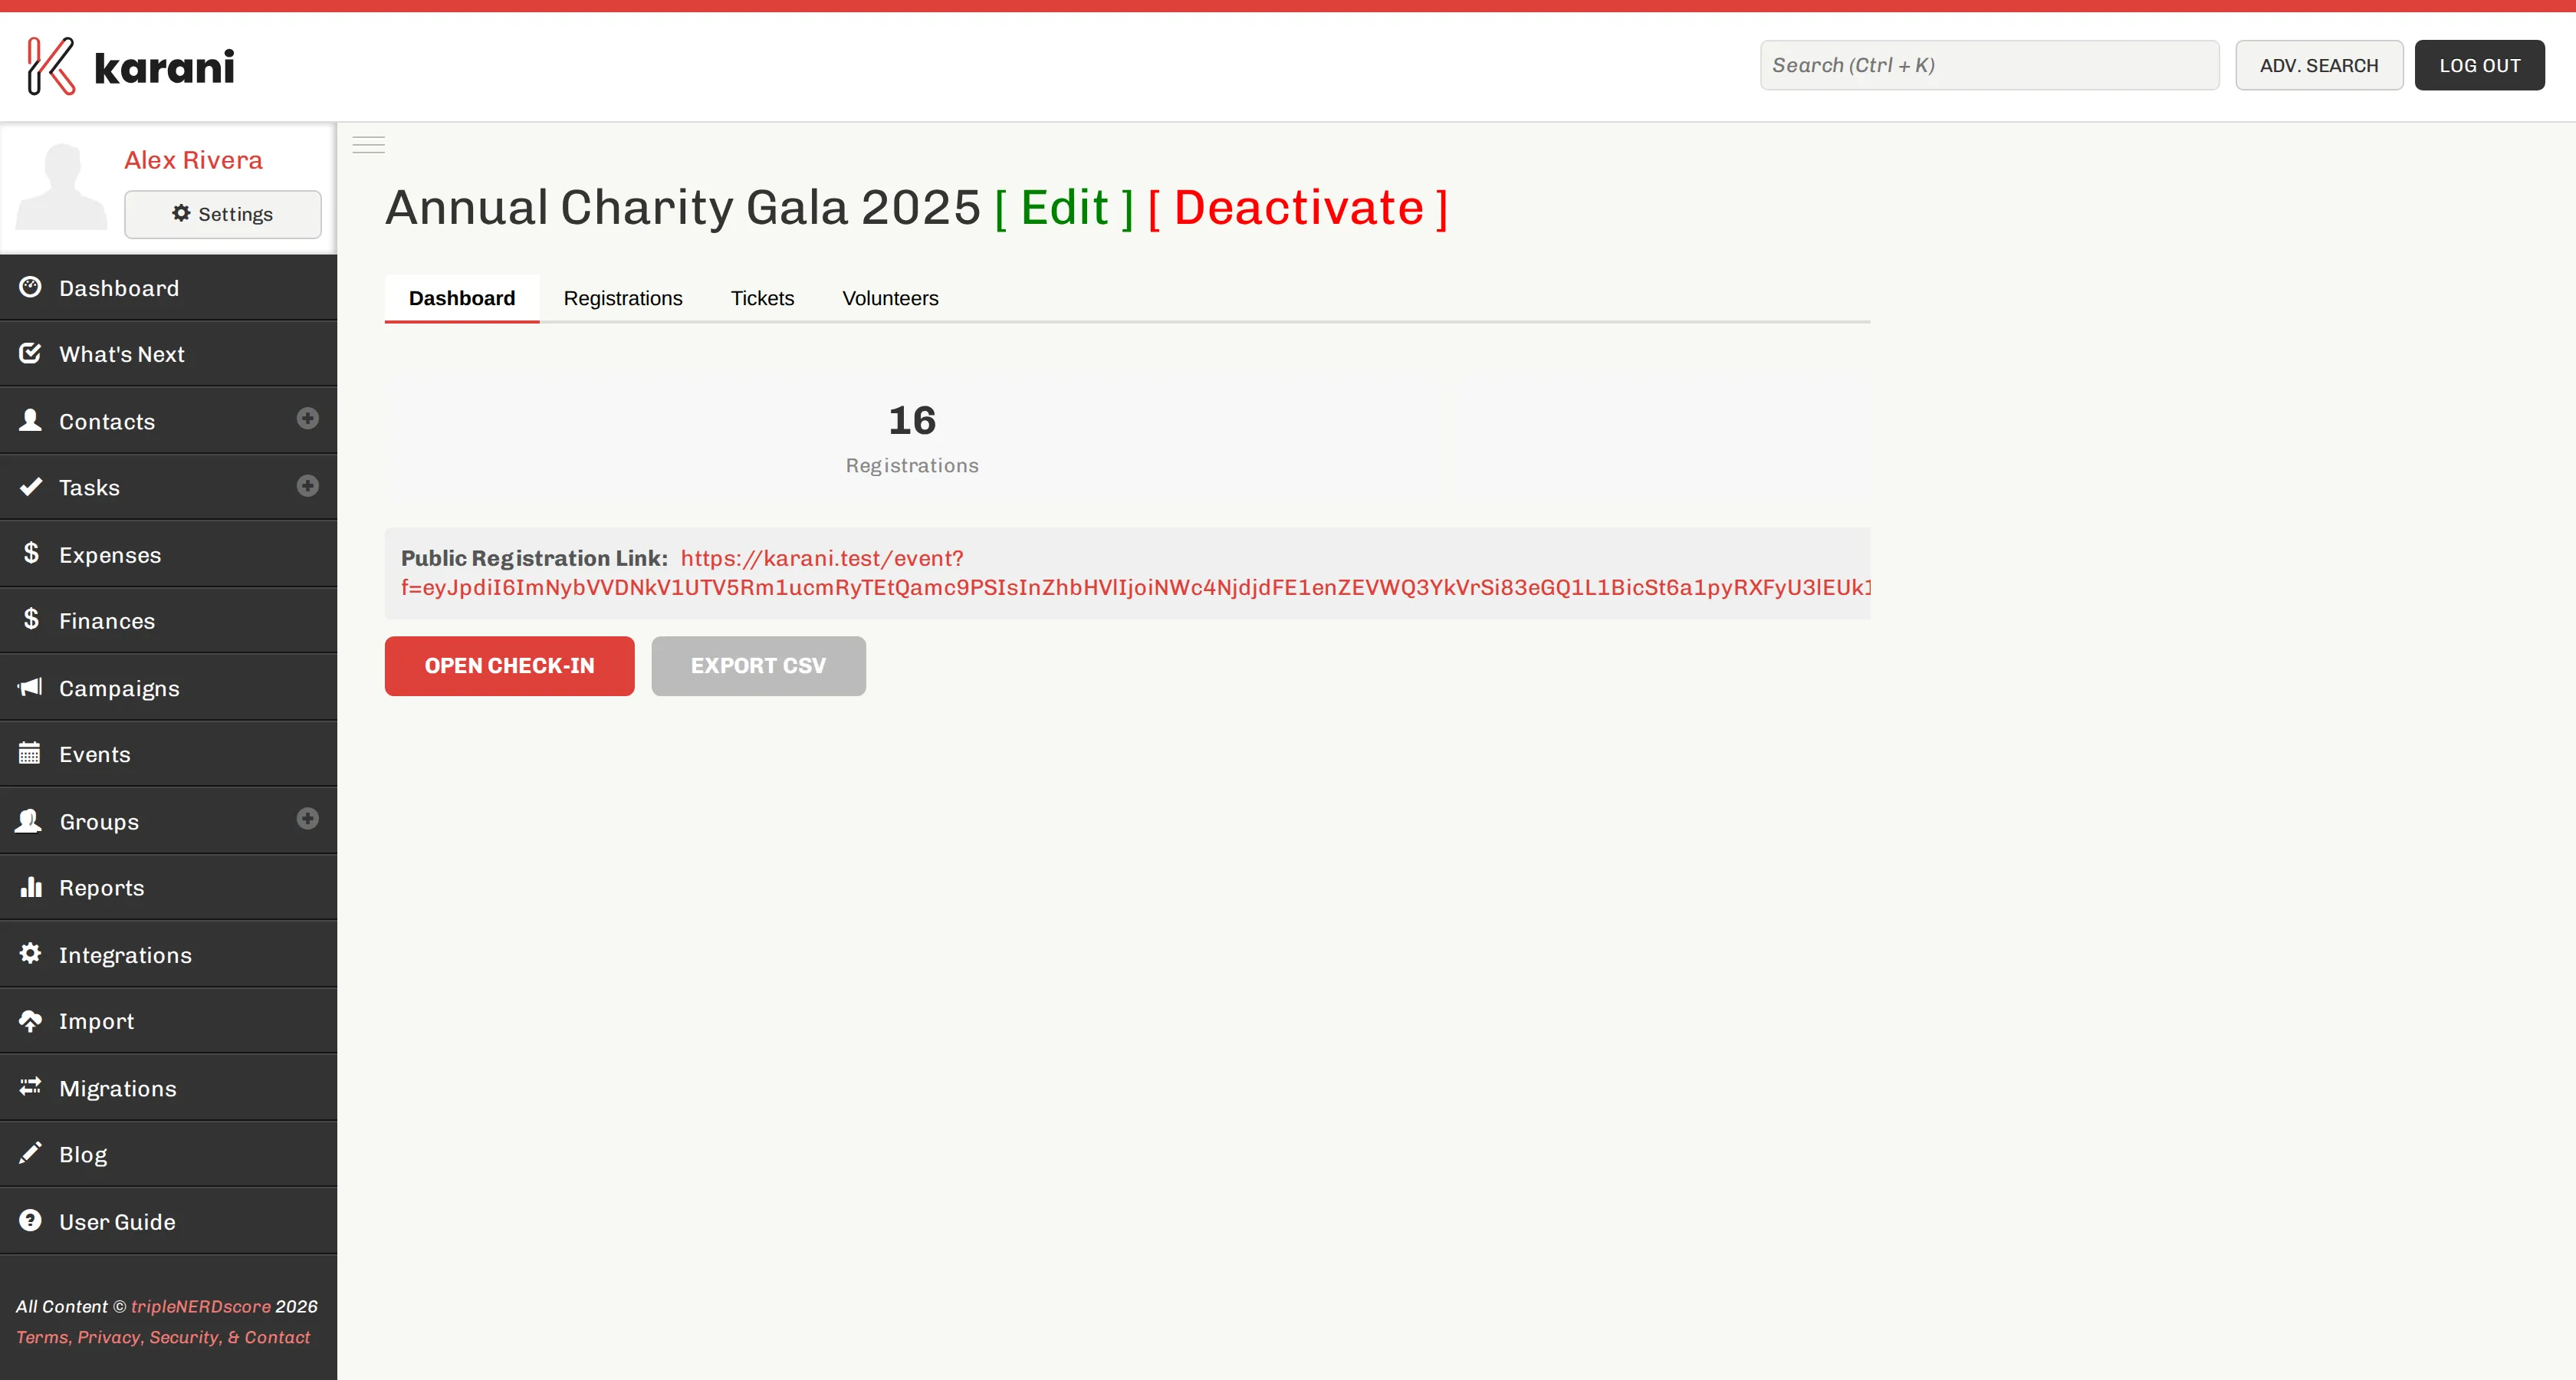
Section titled “After you save”You land on the event page. Two things to do next:
- Set up ticket types. Registration needs at least one ticket to sell.
- Get the public link from the event dashboard and share it.
Editing
Section titled “Editing”Edit at the top of the event page.
Deactivating
Section titled “Deactivating”Deactivate closes the event. It stops appearing as active and the public page stops accepting registrations. Existing registrations, tickets, and reports are kept.
Deactivate after the event rather than deleting — the attendee list and the figures are how you plan the next one.
Cover image
Section titled “Cover image”Upload a cover image for the public registration page. A good photo materially improves how a registration page converts.